A Semi-Homemade Showstopper for a Birthday Party or Baby Shower – Made In a Bundt Pan!
Preface: In the making of this cake, this mama/baker ate through … one pack of Starburst, two Airhead candies, a handful of chocolate chips, too many white chocolate melting wafers, several chunks of pound cake, lots of M&Ms, and gobs of buttercream frosting. After that … she had a stomachache!
As you might guess from the preface, I’ve read The Very Hungry Caterpillar enough times in my life that I still have it memorized today. It was my very favorite story to read to my own boys when they were younger, and Easton’s first birthday was Very Hungry Caterpillar-themed (alas, my cake skills weren’t up to snuff back then).
Bringing this classic children’s story to life (or knife??) for my nephew’s Very Hungry Caterpillar first birthday party this month was a treat from start to finish. Here’s my step-by-step tutorial so you can make your own Very Hungry Caterpillar tiered sheet cake with a simple Bundt cake pan and some candy accessories.
It looks elaborate but the entire thing was completed in one morning — including cake cooling time — and cost less than $50! A bakery confection would have cost double that at least.
This post contains affiliate links. As an Amazon Associate, I earn from qualifying purchases. Read my full disclosure policy for all the boring details.
Very Hungry Caterpillar Bundt Cake
The Plan
If only all clients could be so accommodating — I was given full creative freedom provided the cake was vanilla and fed about 30 guests. After some extensive Pinning, I decided on a semi-homemade approach.
I wanted to make the caterpillar three-dimensional, but it wouldn’t feed enough guests. Placing the 3-D frosted caterpillar on a store-bought sheet cake, however, would solve that problem while creating a showstopper 1st birthday cake.
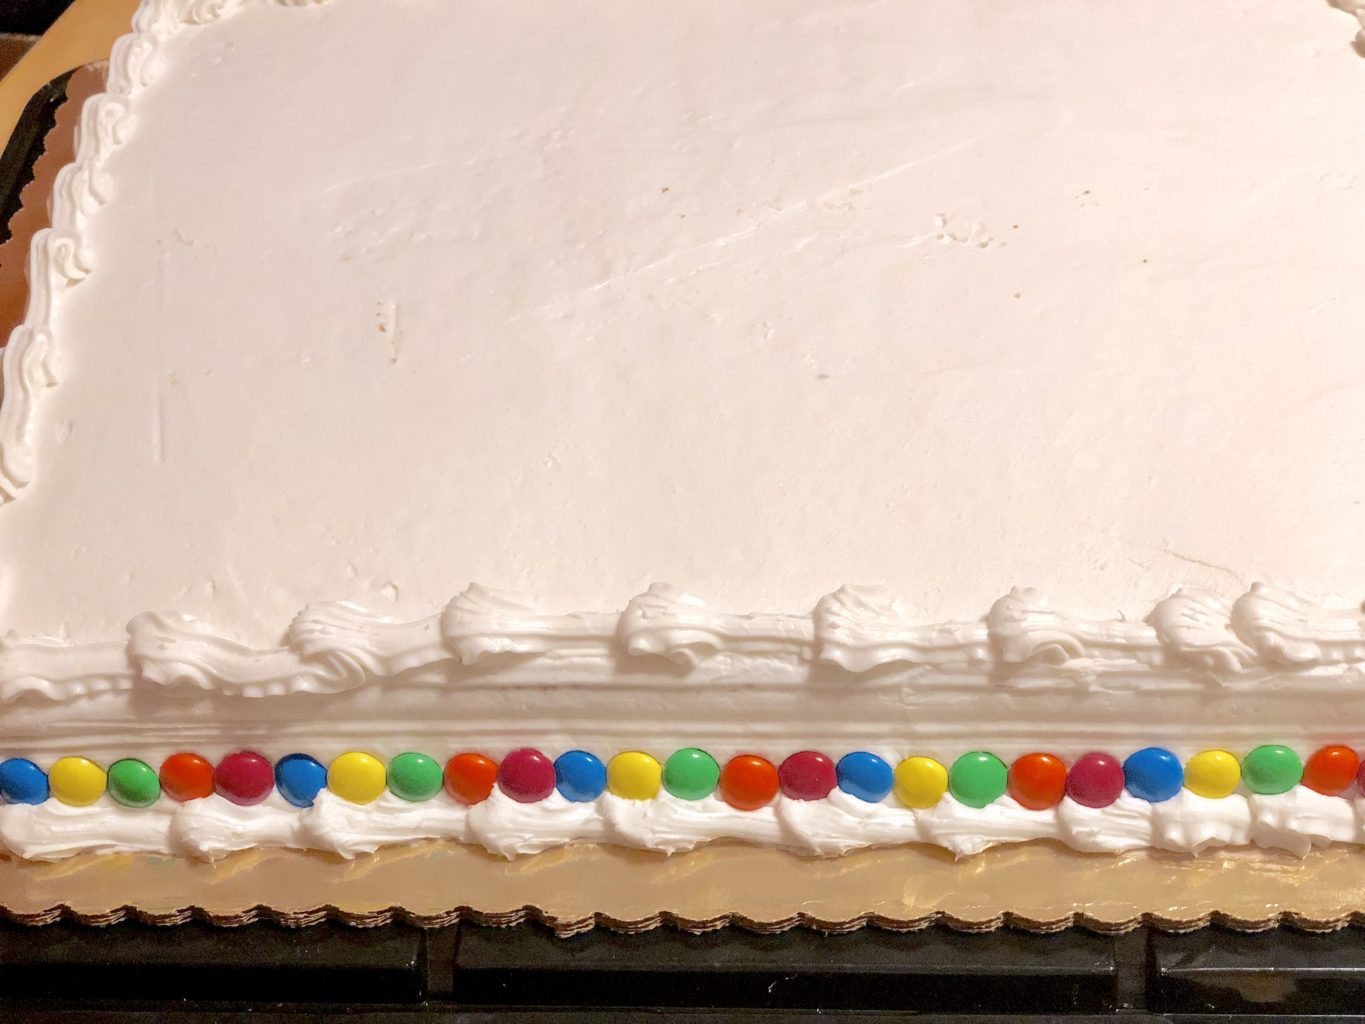
I had my plan in place; now to execute the details. First up: Ordering a half sheet cake from a local bakery. A half sheet cake feeds 32 to 40 people. I opted for a single-layer vanilla sheet cake (no filling), frosted and piped simply in white. No other decorations or adornment, it cost $38 and made the perfect-sized base for my caterpillar confection.
For a larger crowd, a full sheet cake would work equally well and would allow a little more space for decorations. For a full sheet cake, my go-to is Costco. Can’t beat the taste and quality for the price there! I just wish they had a half sheet option too.
The Supplies and Tools
- 9.5-inch fluted Bundt cake pan
- Wilton 9-inch angled spatula
- Silicone basting/pastry brush
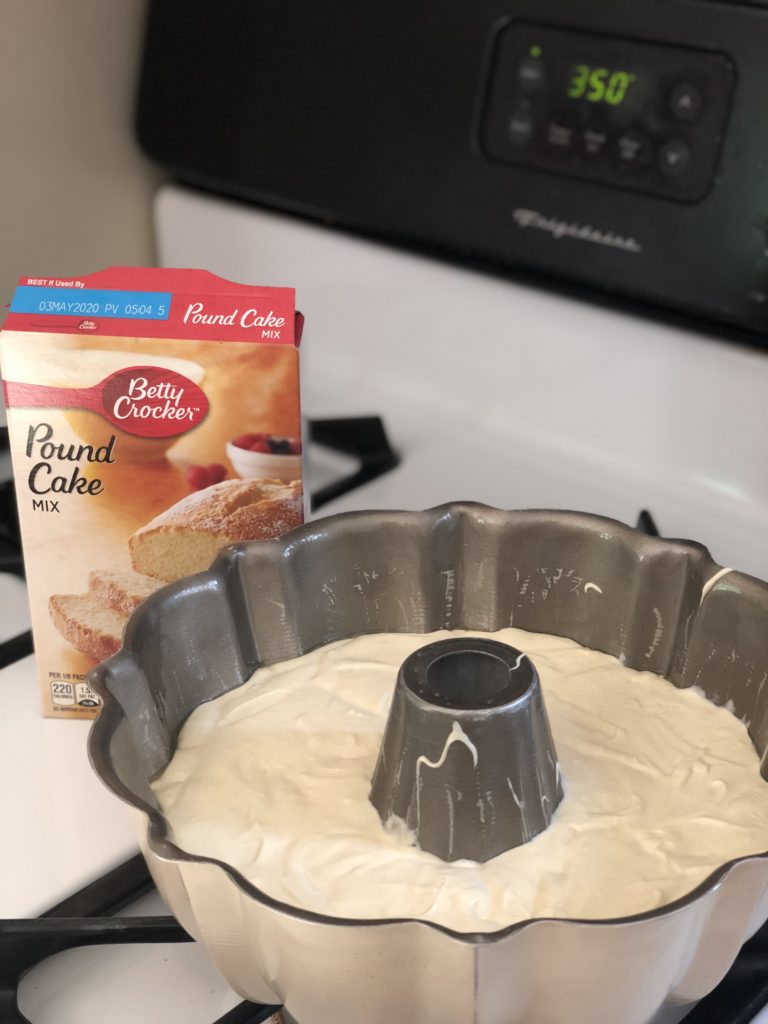
- Betty Crocker Pound Cake mix (16 ounce), or other store-bought pound cake mix, prepared according to package directions
- Batch of white chocolate buttercream (or favorite buttercream frosting of choice)
- AmeriColor Electric Gel Paste Food Coloring Kit (you’ll use Electric Lime and Electric Blue)
- Betty Crocker Classic Gel Food Colors (you’ll use green and red)
- About 100 M&Ms (discard brown — or eat them as you go!)
- 3 Hershey kisses
- 1 pack of Starburst Original fruit chew candies (you’ll use 4 yellow, 3 orange, and 1 red)
- Airheads 6-count Theater Box candy (you’ll use purple, blue, and green)
- One chocolate chip
- Rainbow nonpareils sprinkles
The Step-by-Step Tutorial
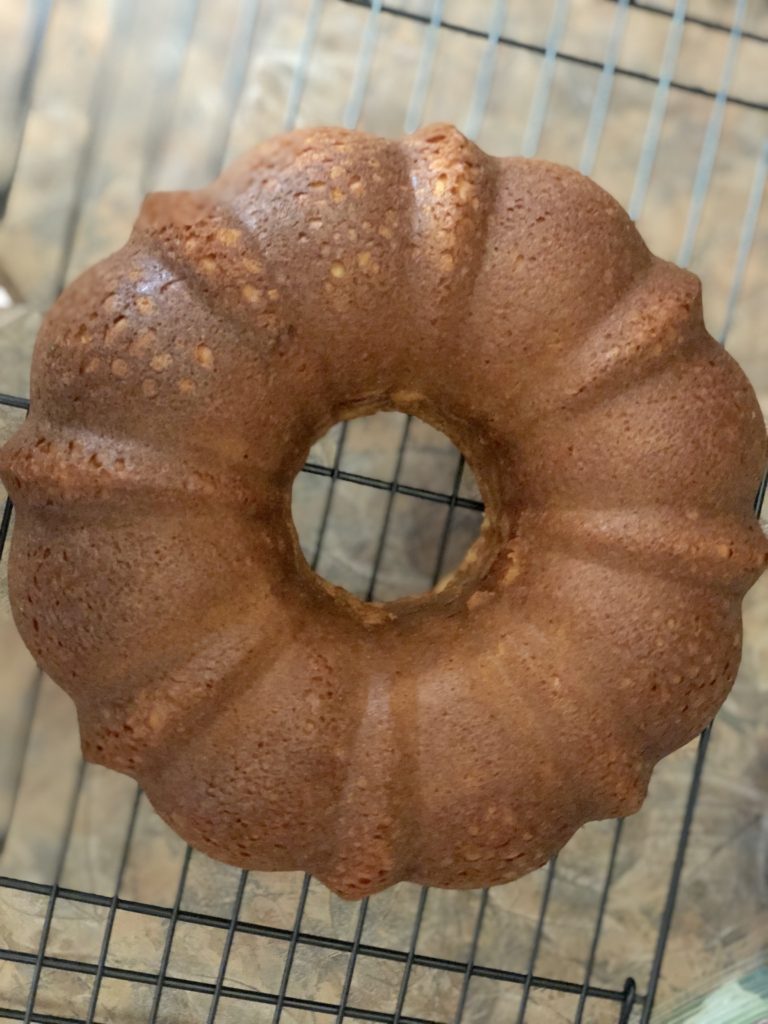
Start by baking the Bundt cake according to package directions. I used the classic Betty Crocker mix. Grease the pan liberally to prevent your cake from sticking.
Allow the cake to cool in the pan 10 minutes only and then invert the cake onto a wire rack to cool completely.

(If you don’t remove your cake from the pan while it’s still warm, it will be nearly impossible to remove without destroying it. Take it from my experience.)
While the cake is cooling, mix up a batch of white chocolate buttercream frosting. This is my favorite frosting because it’s sweet without being cloying and just the right consistency for frosting smooth while holding shape.
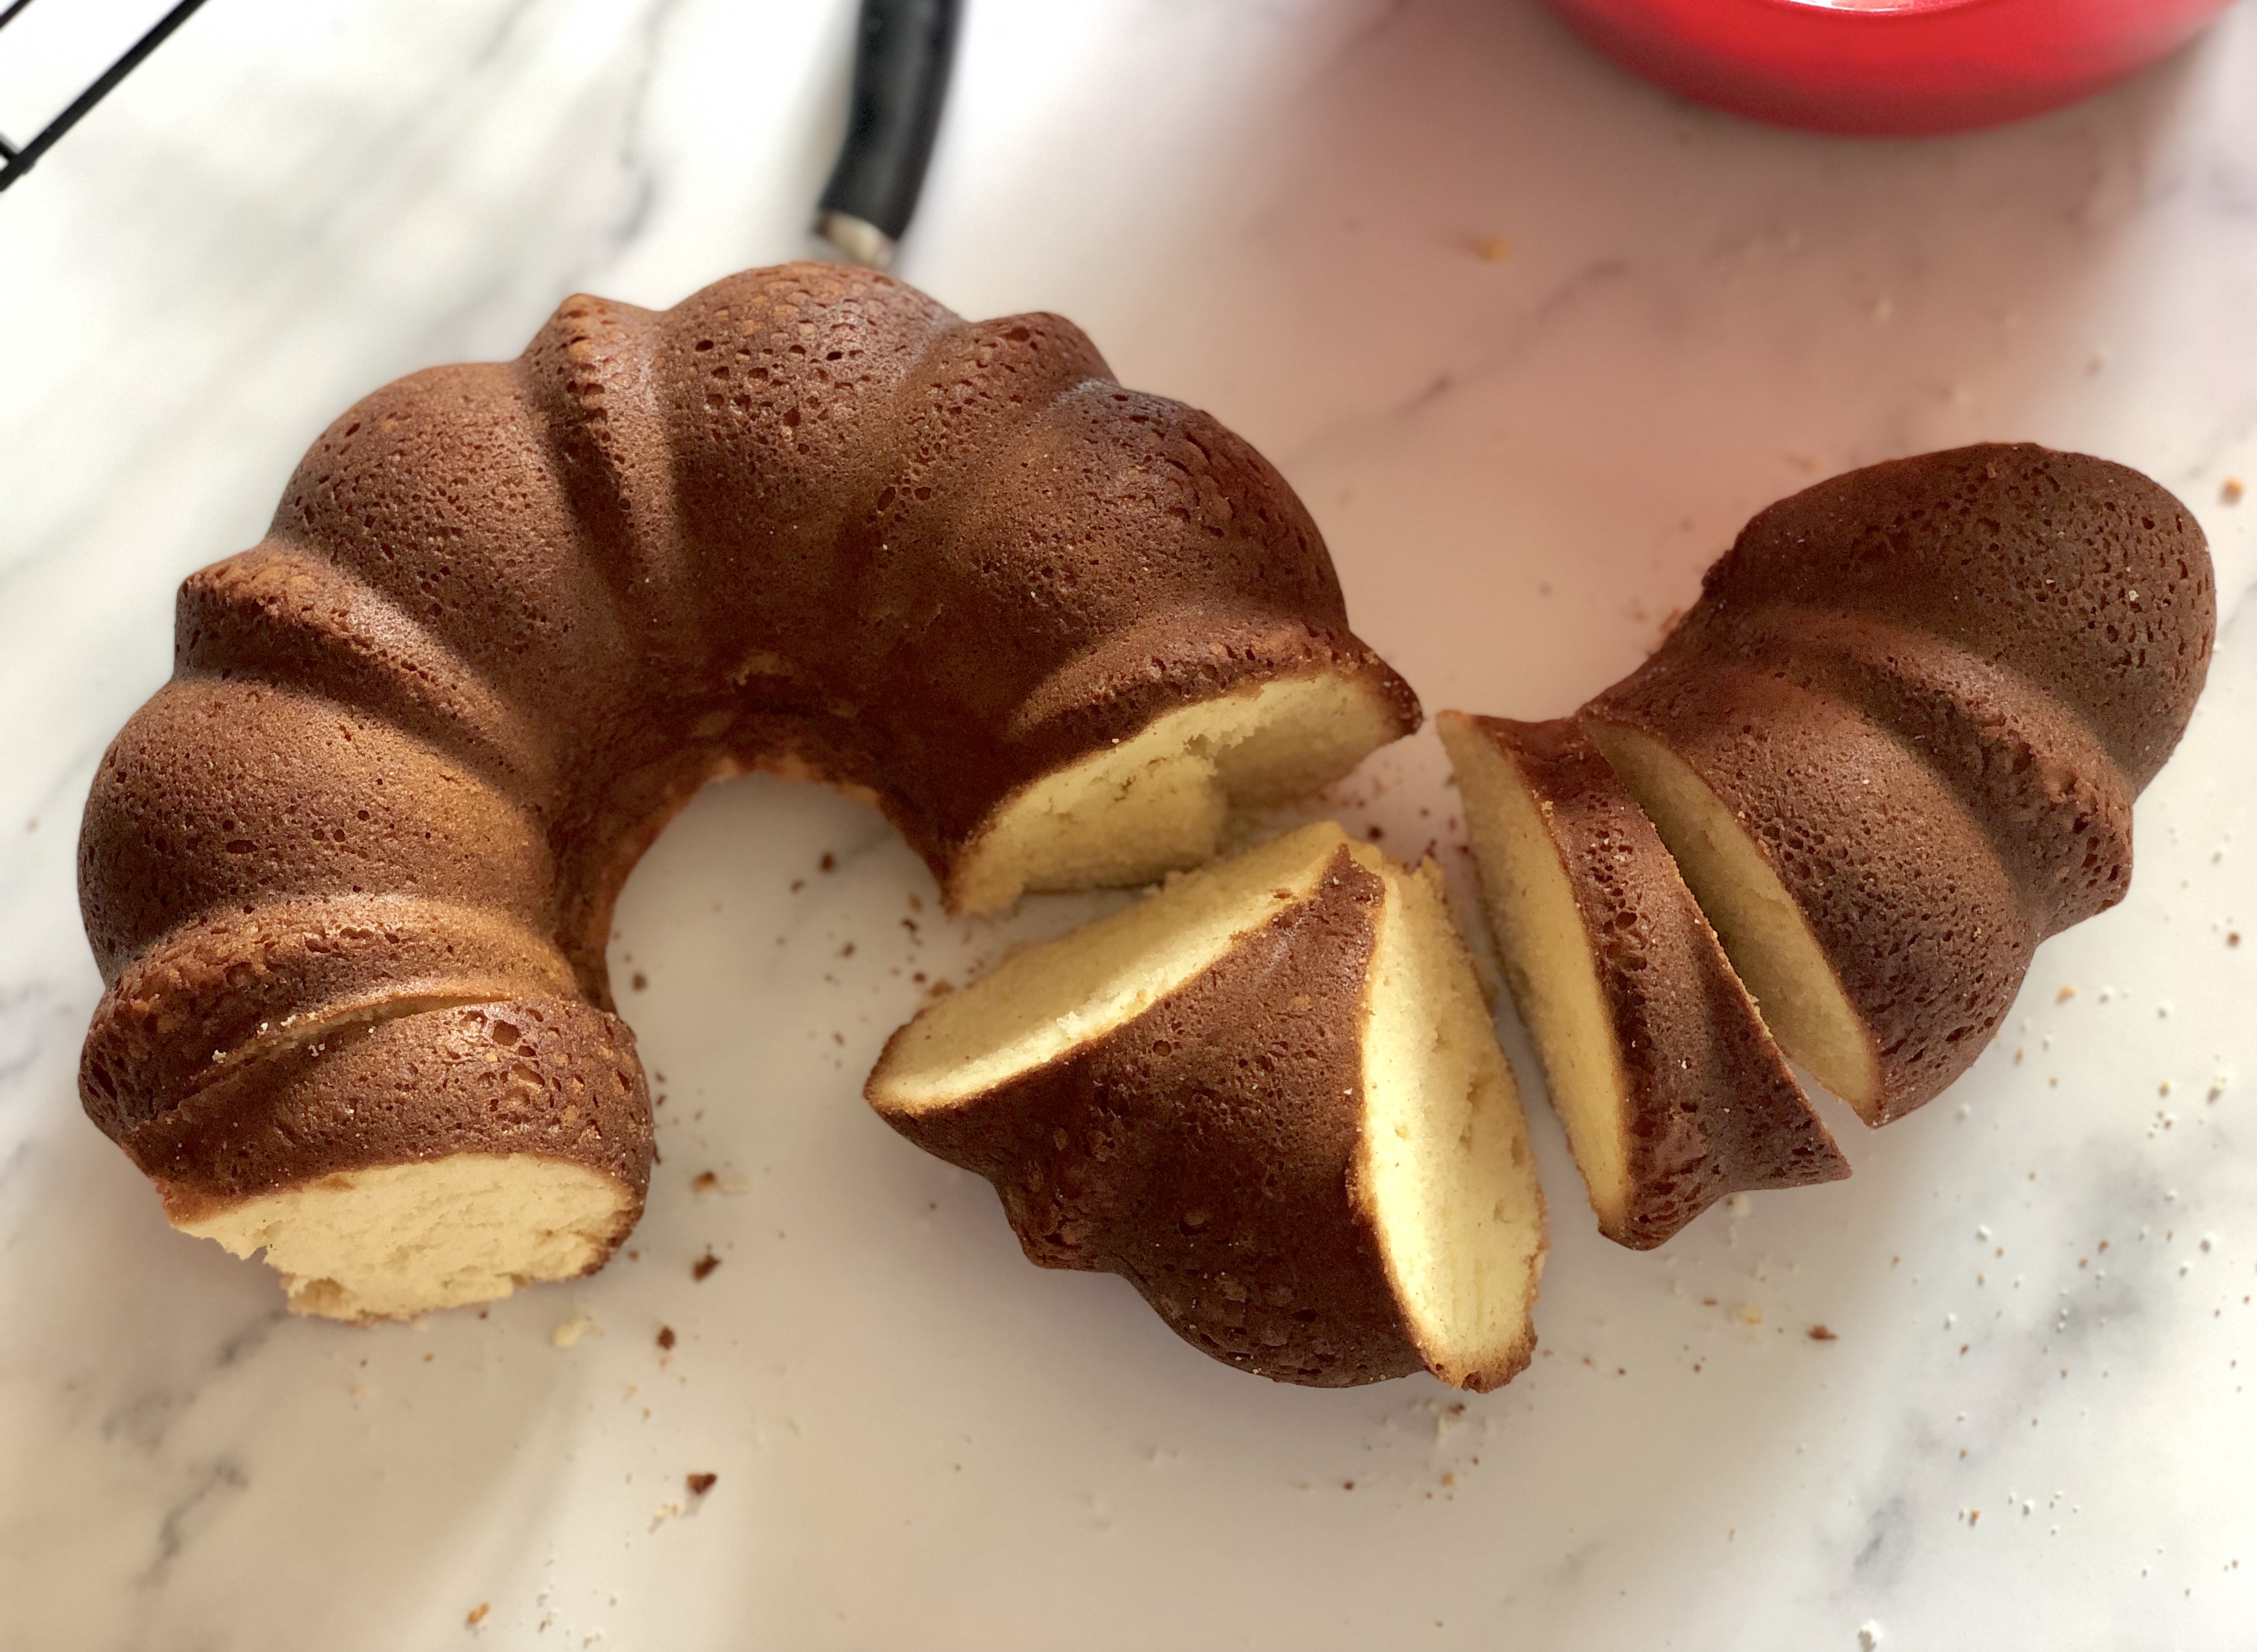
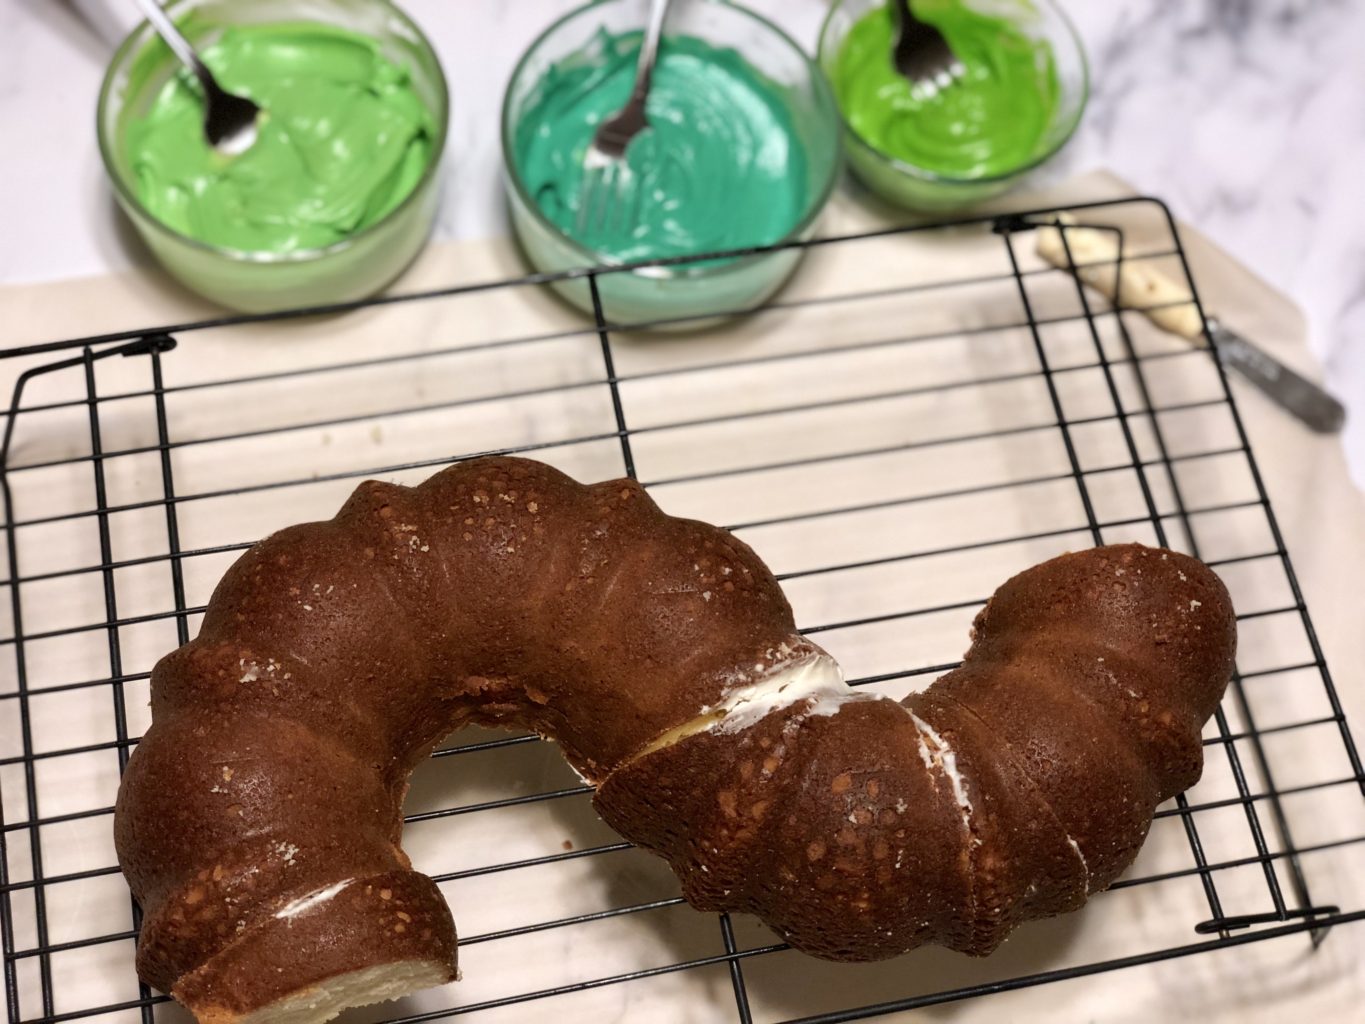
After the cake is fully cooled, cut into four pieces as shown and shape to form the caterpillar’s body. If the shape isn’t exactly right, you may have to make additional cuts to achieve the desired angles. (In hindsight, I actually could have cut the cake into only 3 pieces — a half and 2 quarters.)
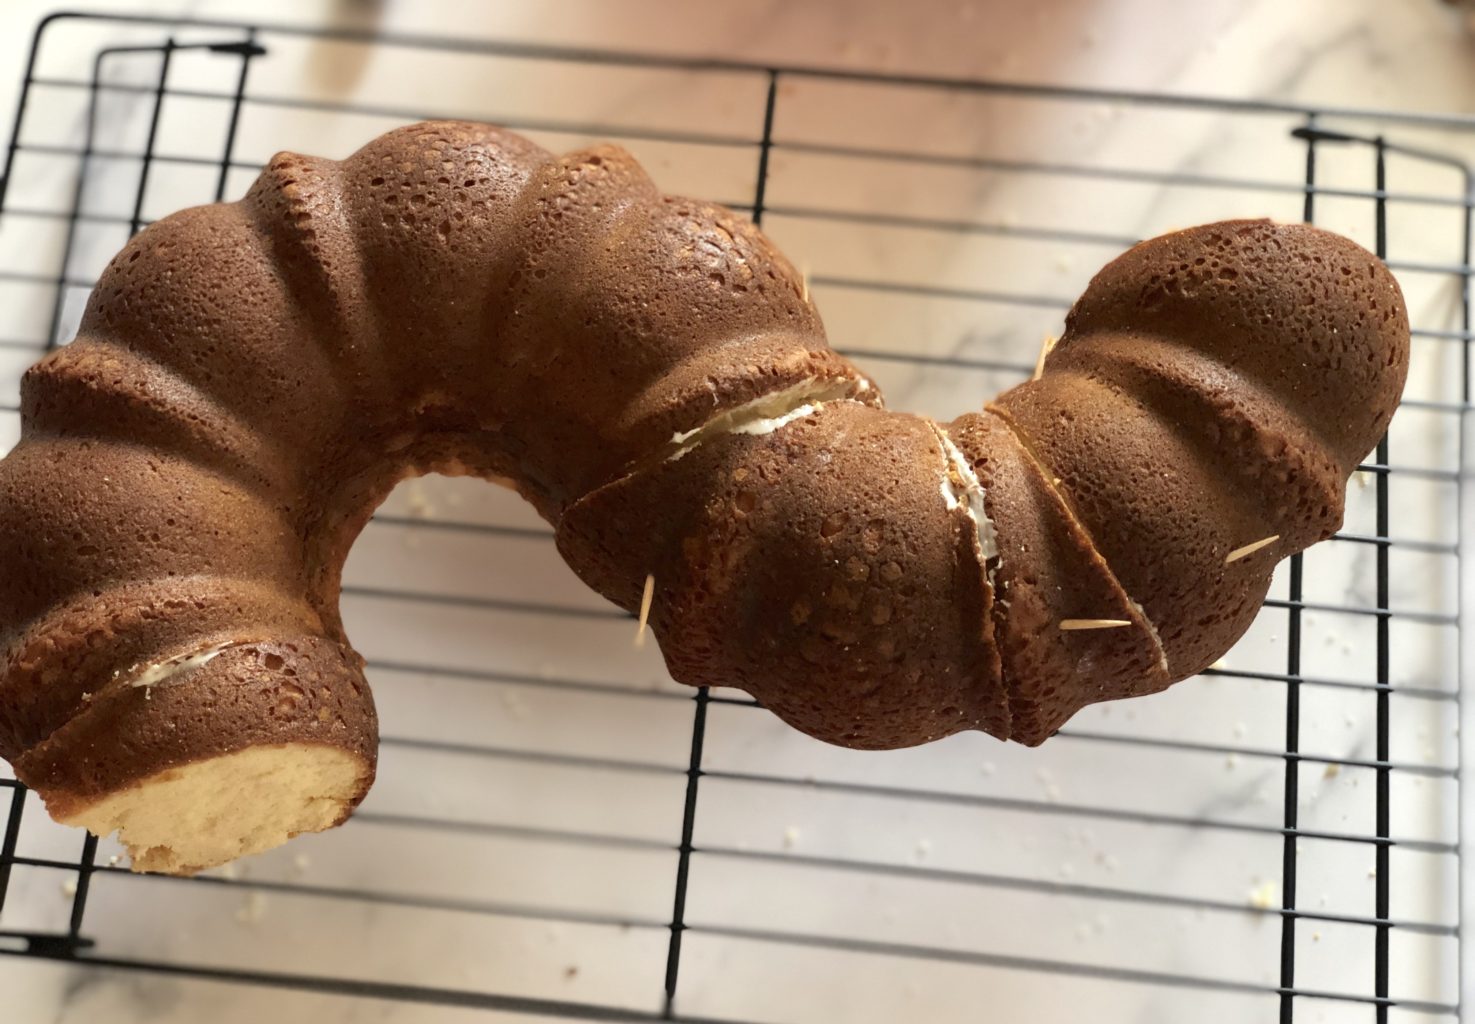
Stick the pieces together with buttercream frosting and use toothpicks or skewers to hold in place. Transfer entire cake on wire rack to freezer for at least 30 minutes. (Complete next two steps while cake freezes. The cake is easier to shape, frost, and manipulate when frozen.)
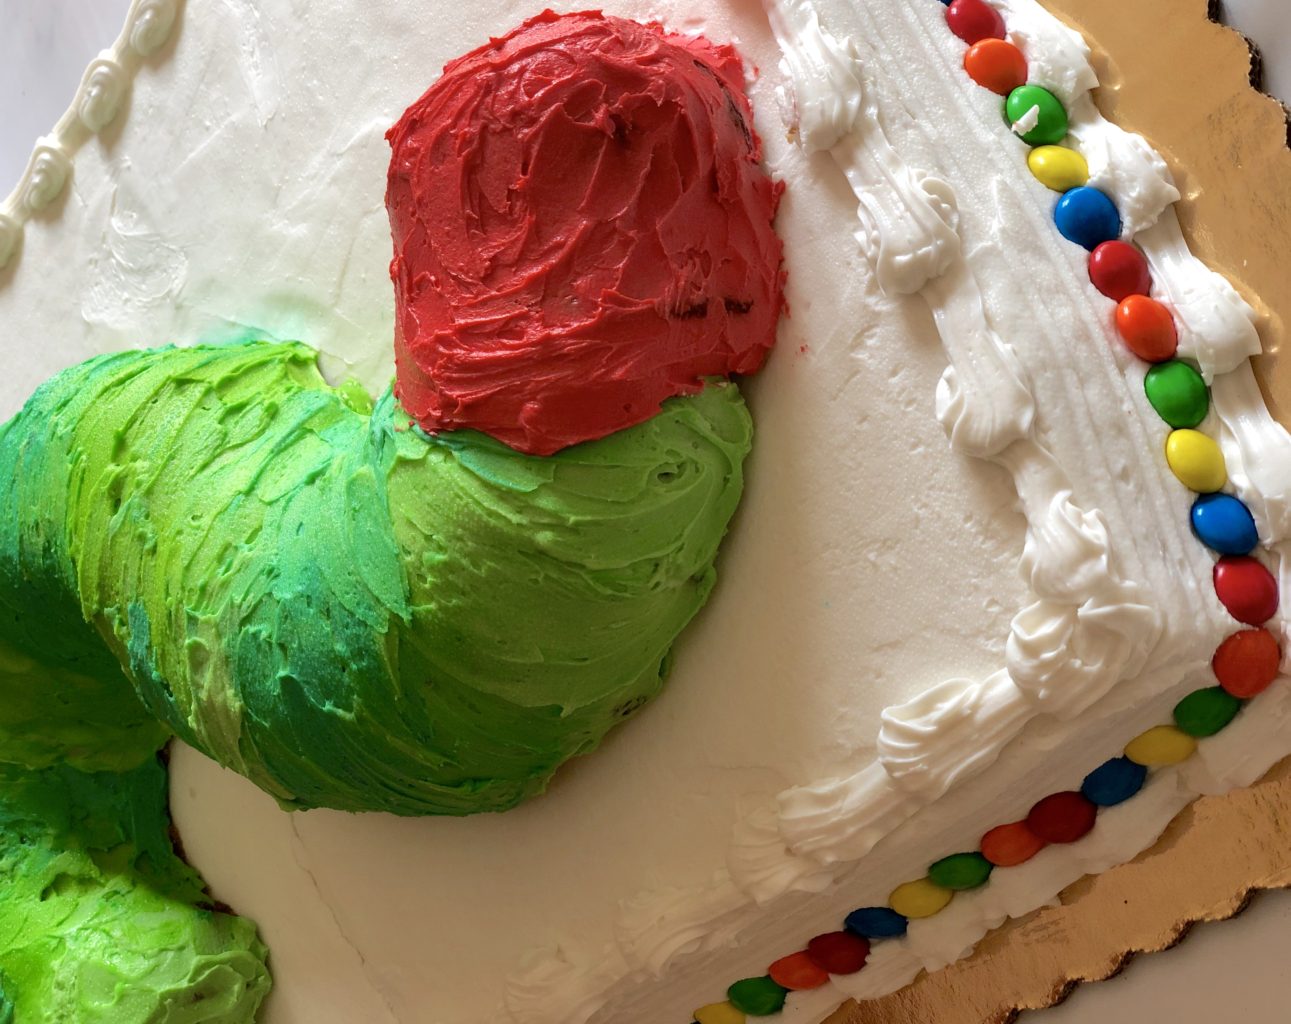
While the cake is freezing, separate your M&Ms into colors and make a border at the base of the sheet cake, just above the piping. If sheet cake has been sitting out at room temperature, M&Ms will press easily into the cake.
Use a consistent color pattern: Red-blue-yellow-green-orange. Repeat around entire perimeter of sheet cake.
Divide the buttercream frosting into three larger bowls (about 1 cup each) and 1 small bowl (about 1/3 cup) and tint to three different shades of green. Tint the 4th smaller bowl red.
- Bowl 1: 5-6 drops Electric Lime and 2 drops of Electric Blue (keep adding color in 3:1 ratio until desired depth is achieved)
- Bowl 2: 10 drops Electric Lime (add more color as desired)
- Bowl 3: 1/4 tsp Classic Green (add more color as desired)
- Bowl 4: 1/2 tsp Classic Red
Adjust frosting colors to desired depth and hue. As long as there is color contrast between the three shades of green, you’ve tinted them correctly. Colors will also deepen slightly as time passes.
Once cake is frozen solid, remove from freezer and use a long serrated bread knife to cut about 1 inch off bottom of caterpillar shape, so cake has a flat bottom. Discard (or eat) pound cake chunks. Remove and discard toothpicks after flat bottom has been cut.
Leaving cake on wire rack, use metal spatula to apply frosting in rings or lines to each section of the fluted cake. Alternate light green, medium green, teal green, repeat. Frosting can be applied in dabs and does not need to be particularly smooth.
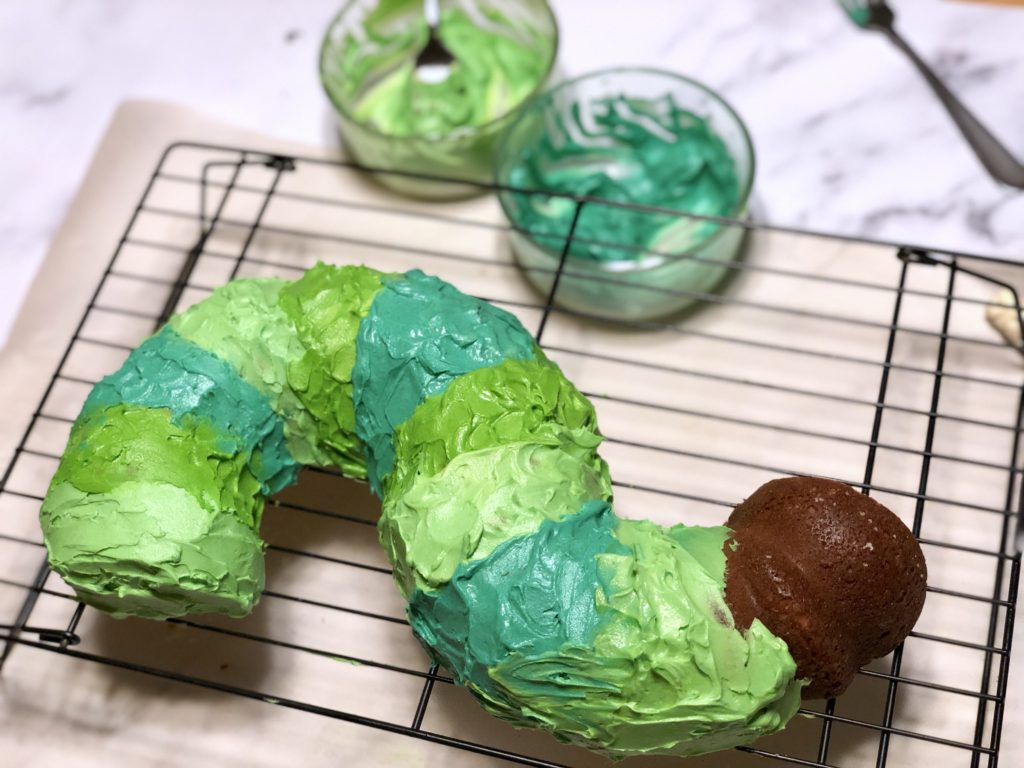
Leave at 2 sections unfrosted for the caterpillar’s head. You will frost this red later.
Use silicone pastry brush to brush frosting to blend the color rings together and achieve more of a mosaic effect.
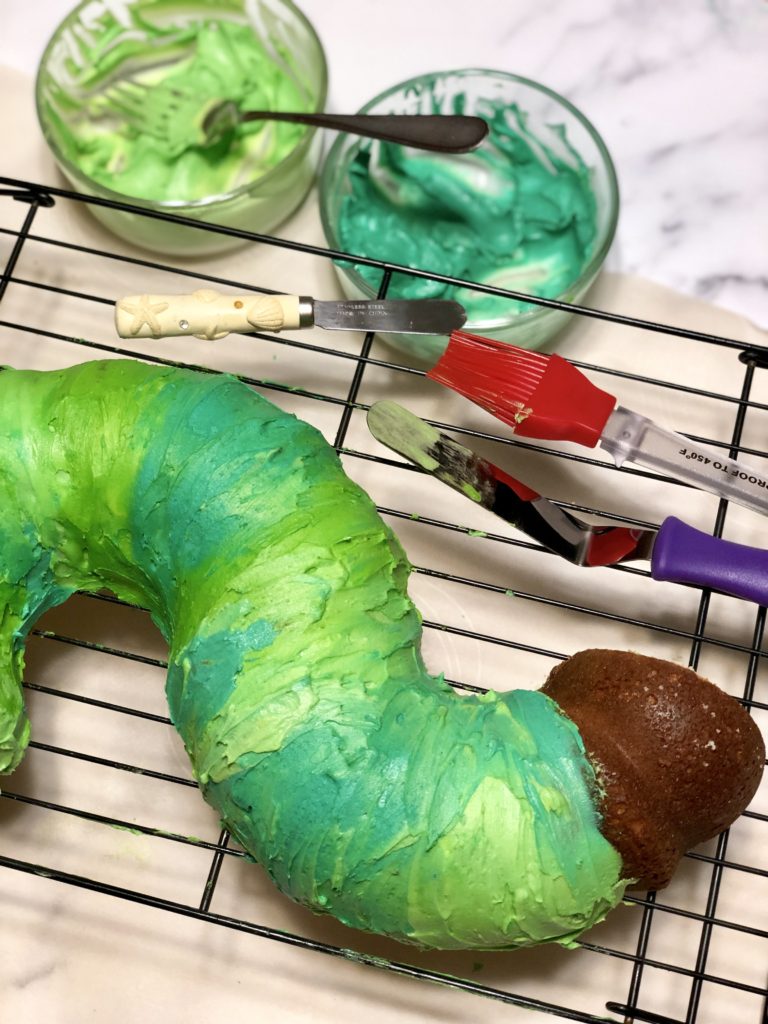
After blending colors to desired effect with pastry brush, smooth frosting with silicone spatula, small spreader or cake smoother. A marbled mosaic effect is what you are going for, so it should be imperfect. If frosting coverage is an issue, simply dab more on and blend and smooth again.
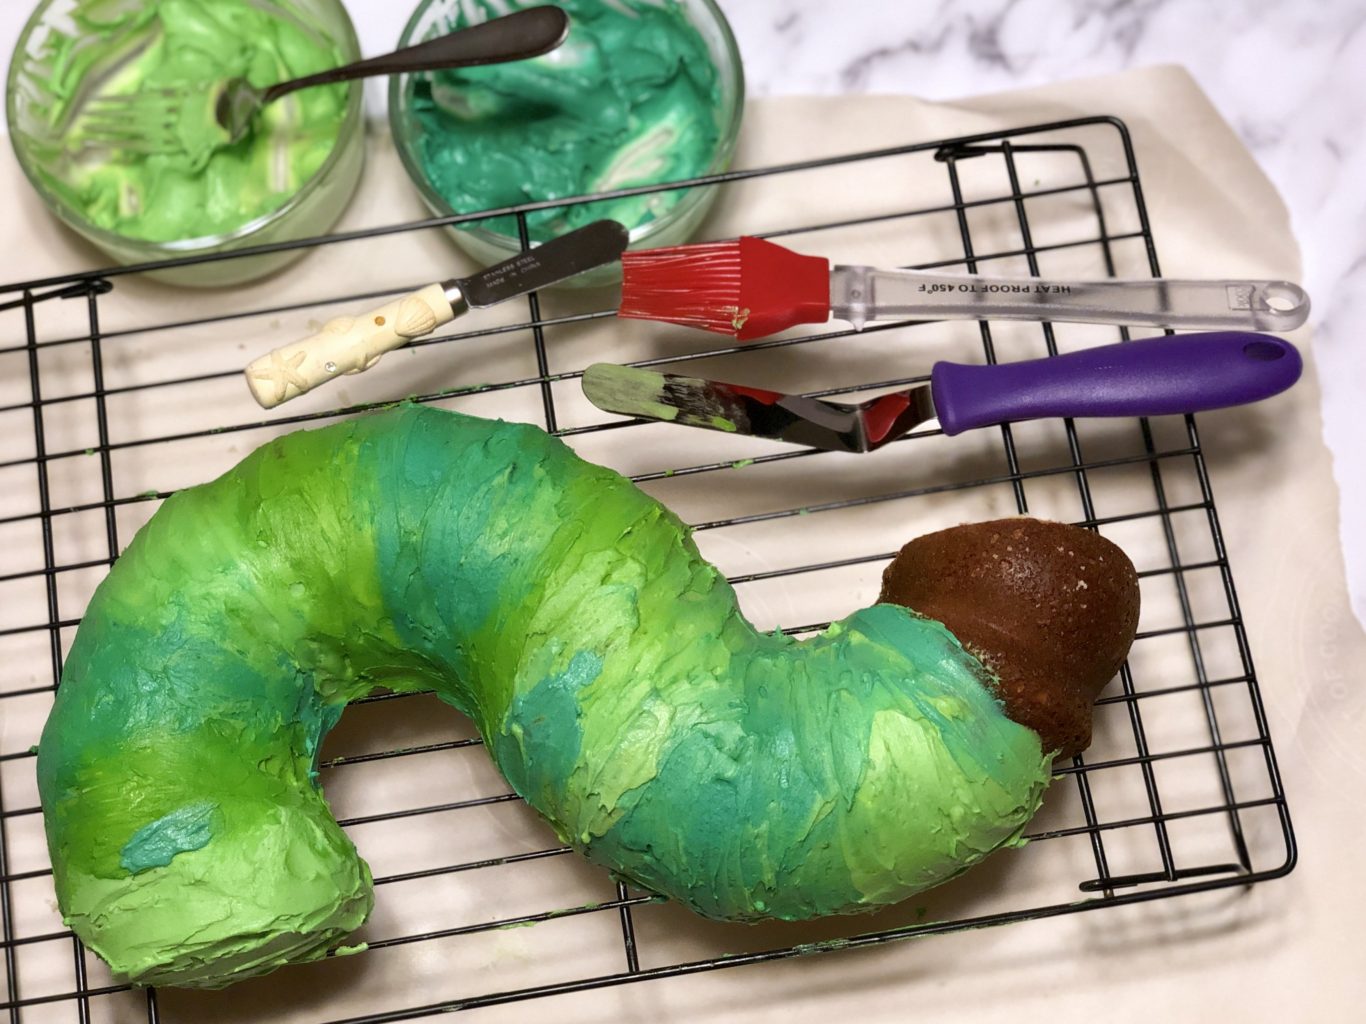
Move frosted cake back into freezer on wire rack for about 15 minutes.
While frosting is freezing, create the candy accents.
For the sun, microwave 7 Starburst fruit chews (3 orange, 3 yellow, 1 red), unwrapped, on plate in microwave for 30 seconds. With clean or gloved hands, knead and blend Starburst together until a marbled effect is achieved. Use rolling pin or glass to roll flat and cut into quarter-circle slice and rectangles of varying widths for sun’s rays. Set aside.
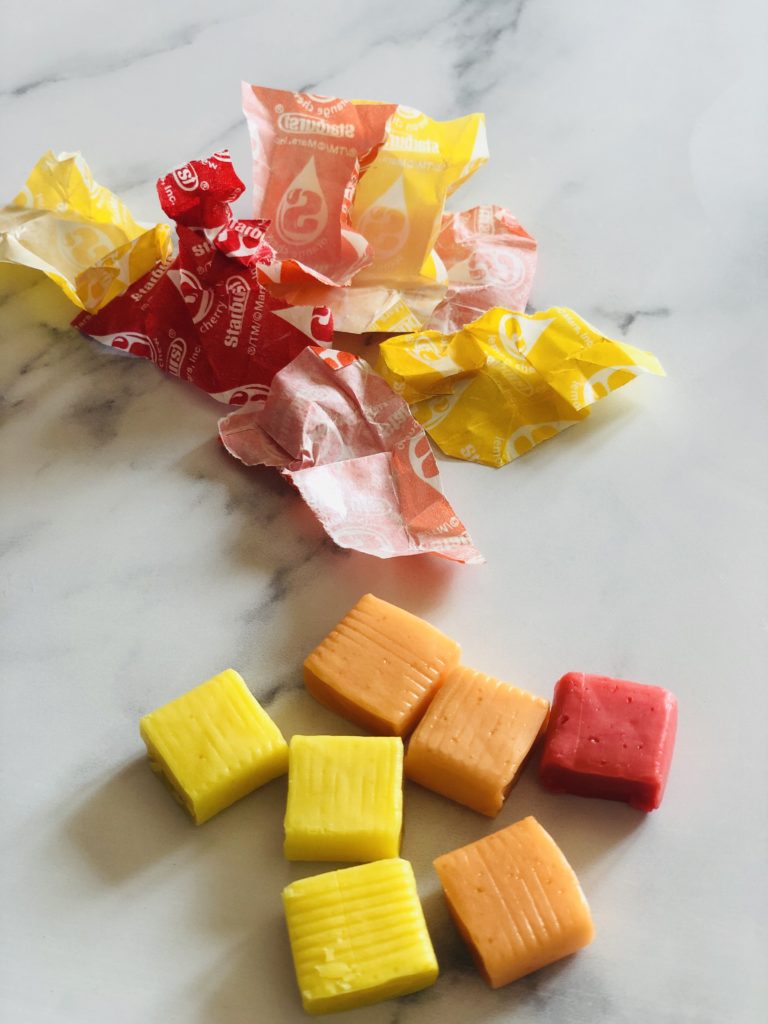
Use 1 additional yellow Starburst to form two shapes for caterpillar’s eyes. Form green pupils from 1/2 green Airhead and push into yellow. Set aside.
Use 1/2 green Airhead and blue Airhead to create a “1” (or other number) shape. I used a sharp paring knife to cut the shape out of the green, then pressed it into the blue and cut again. Set aside.
On small plate, microwave 3 unwrapped Hershey Kisses 15 seconds. Allow to stand 30 seconds, then use sharp paring knife to cut in half. Set aside.
Cut purple Airhead in half. Cut antenna shape out of one half with sharp paring knife and refine edges/shape with fingers as desired. Place onto other half of Airhead and use as a cutting guide to make a second symmetric antenna. Set aside.
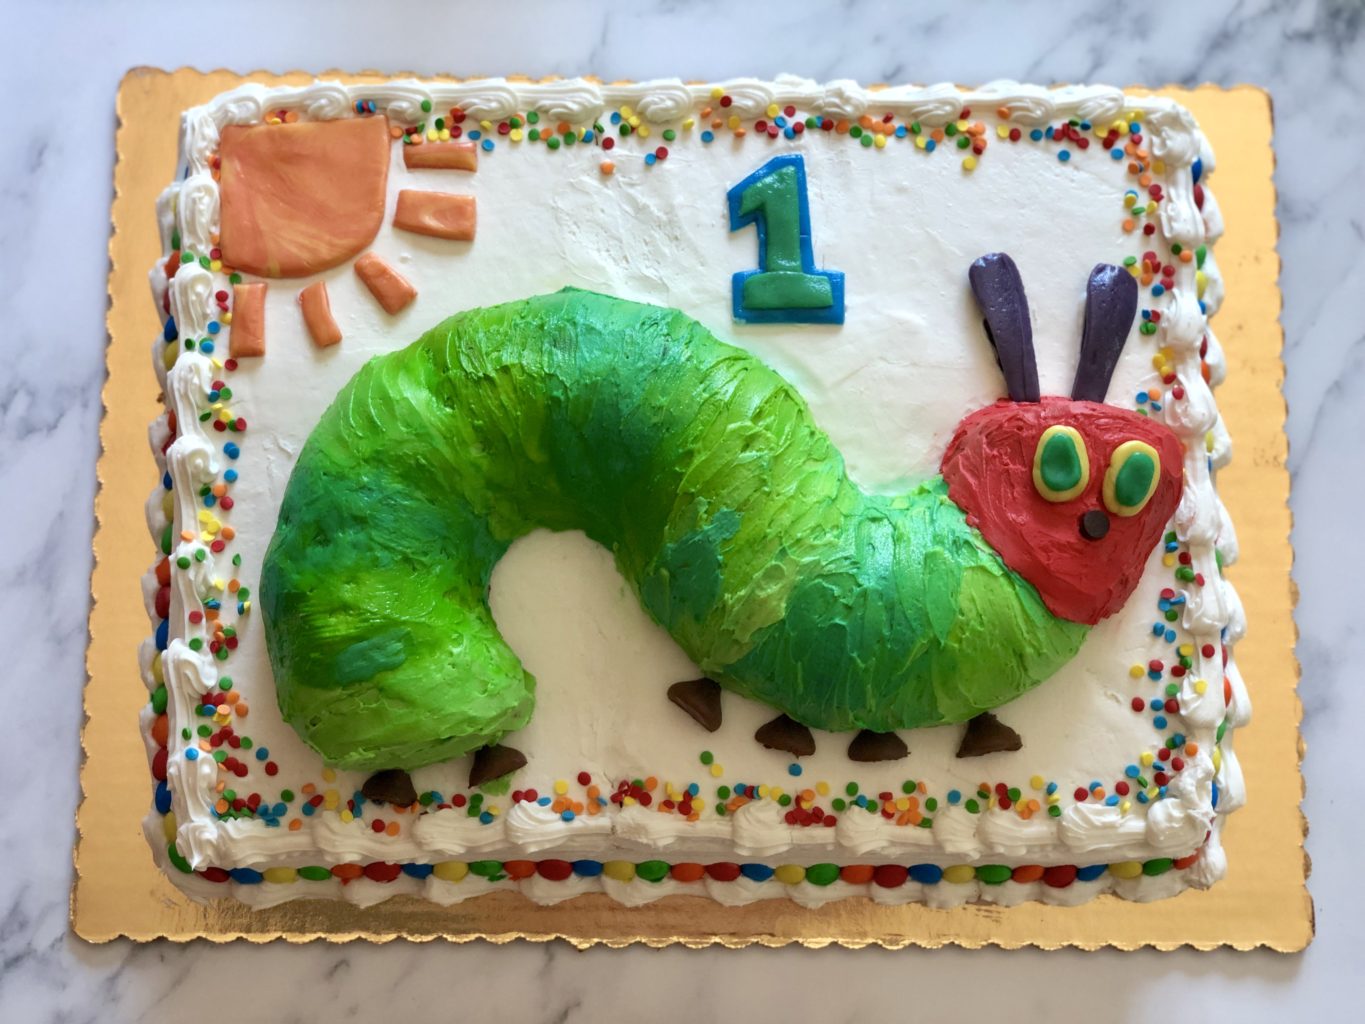
Remove caterpillar from freezer and transfer to center of sheet cake (toward the bottom to allow room for the sun at the top). Apply a few dabs of leftover frosting to the bottom of caterpillar to adhere it to the top of the sheet cake.
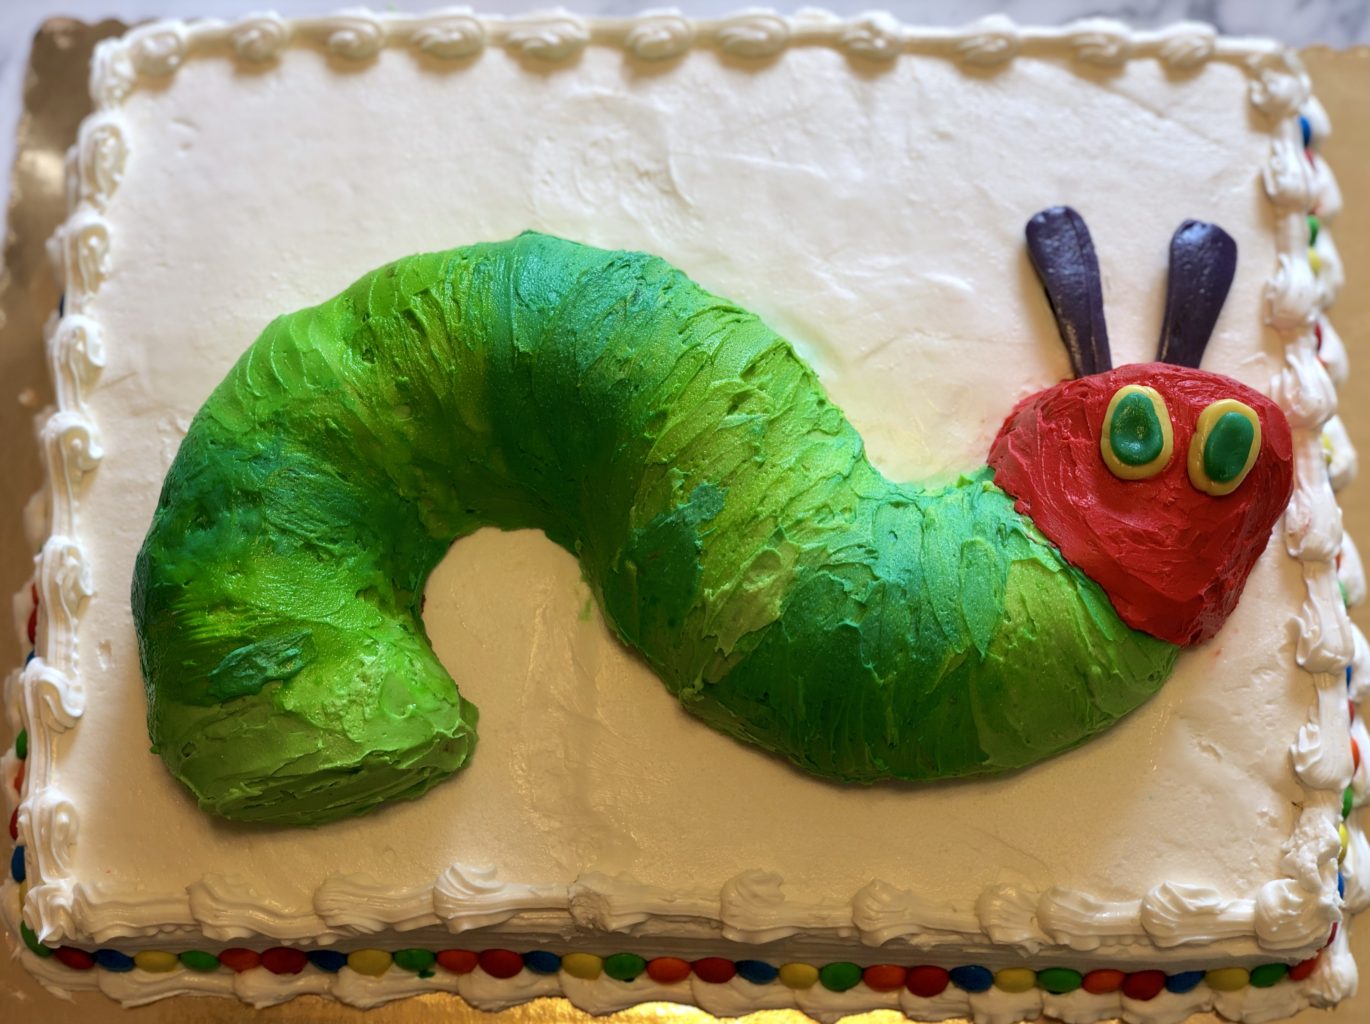
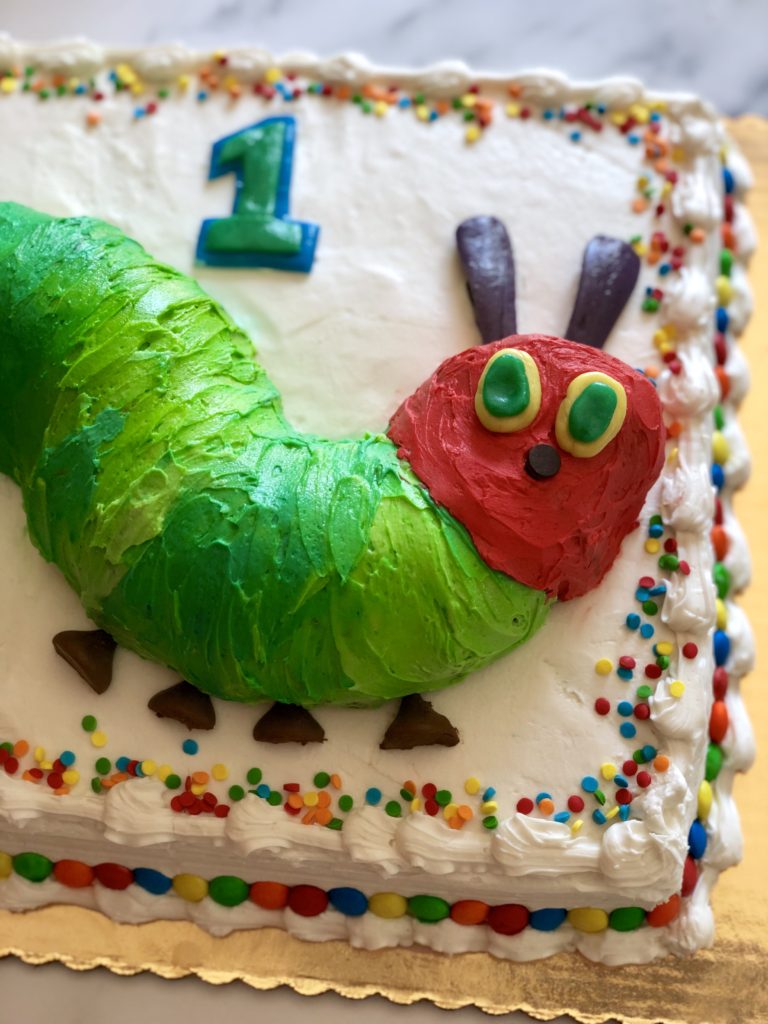
Once the caterpillar is in place, frost head of the caterpillar red, fully covering top and sides. Smooth with silicone spatula as desired.
Now start to decorate! Place the eyes on the caterpillar’s face and add a single chocolate chip for its mouth.
Press the purple antennae directly into the sheet cake at the top of the caterpillar’s head. If a little more height is desired to raise the antennae up off the cake slightly, add a small strip of Airhead on the back of each antenna to elevate them.

Place the halves of Hershey Kisses to form the caterpillar’s feet: 2 on the bottom of the caterpillar’s back end and 4 along the bottom of the caterpillar’s front.
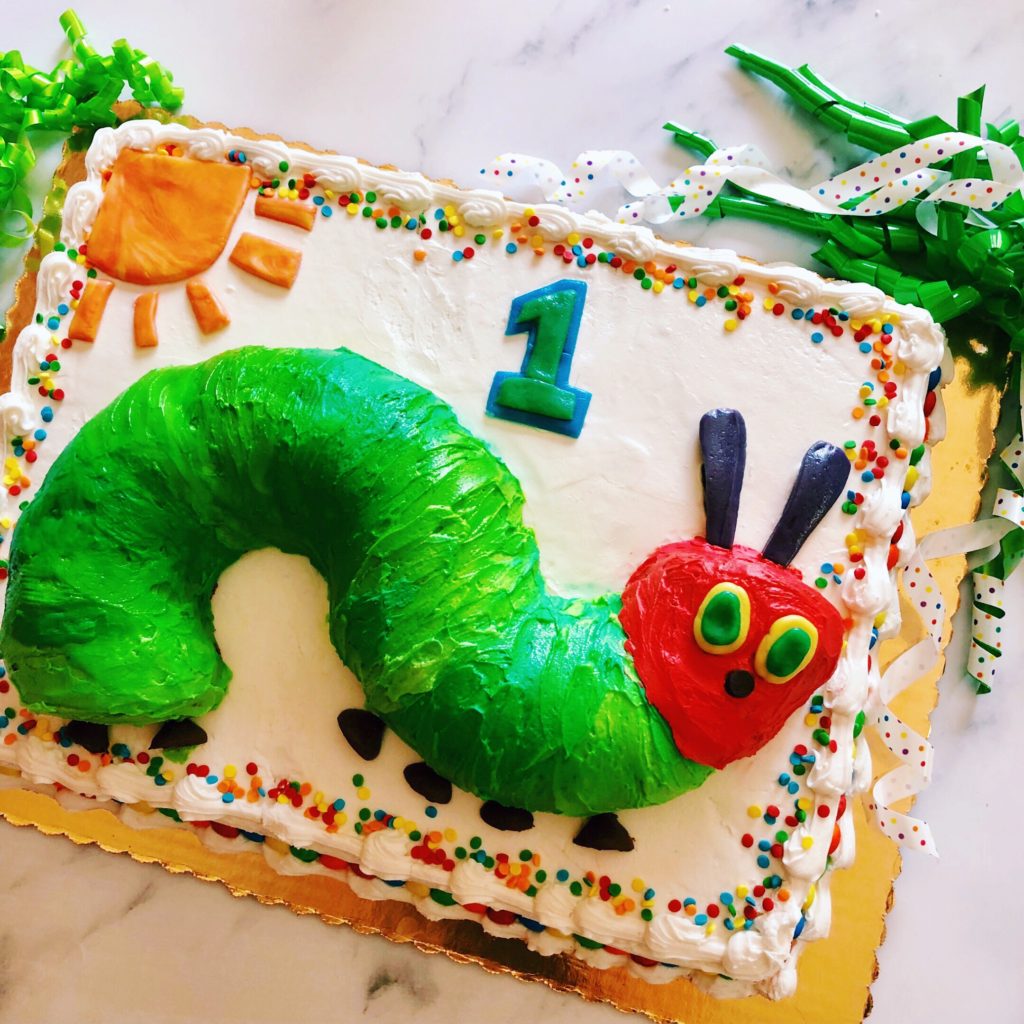
Place the sun in the upper left corner of the cake and arrange the rectangular rays accordingly. Add candy “1” or other number if using.
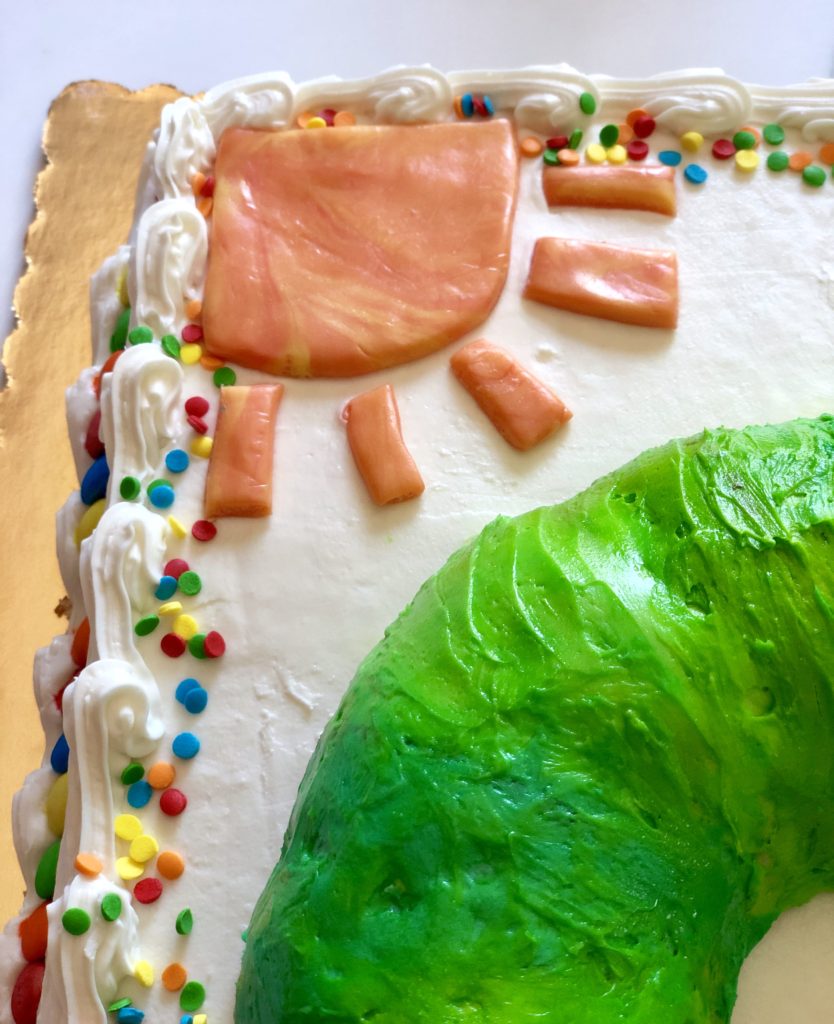
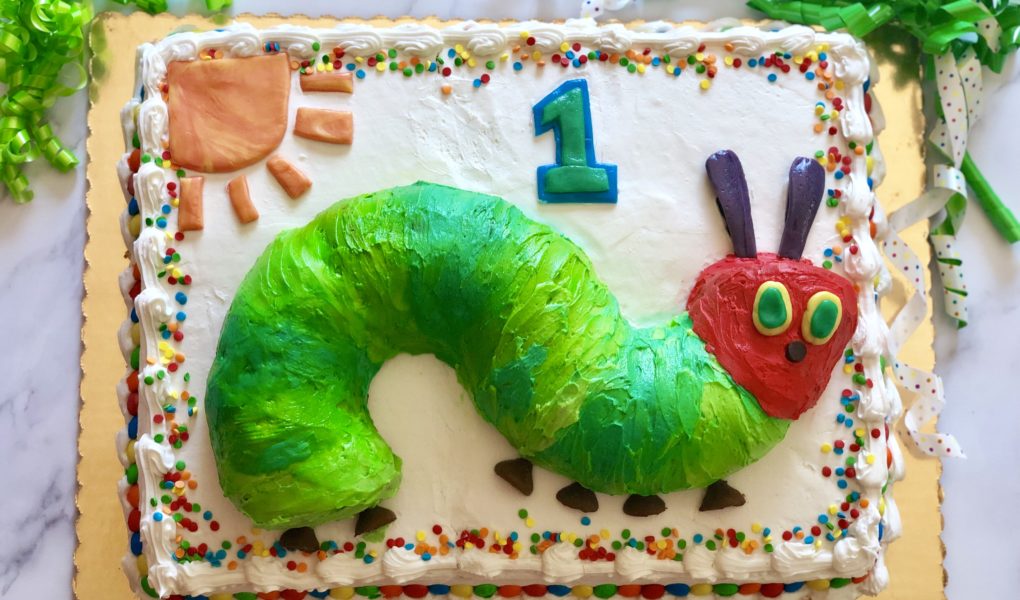
Finish by applying sprinkles to border of cake only, where cake meets the piped border. Voila! The Very Hungry Caterpillar has come to life at last, and your semi-homemade cake has gone from basic to beautiful.
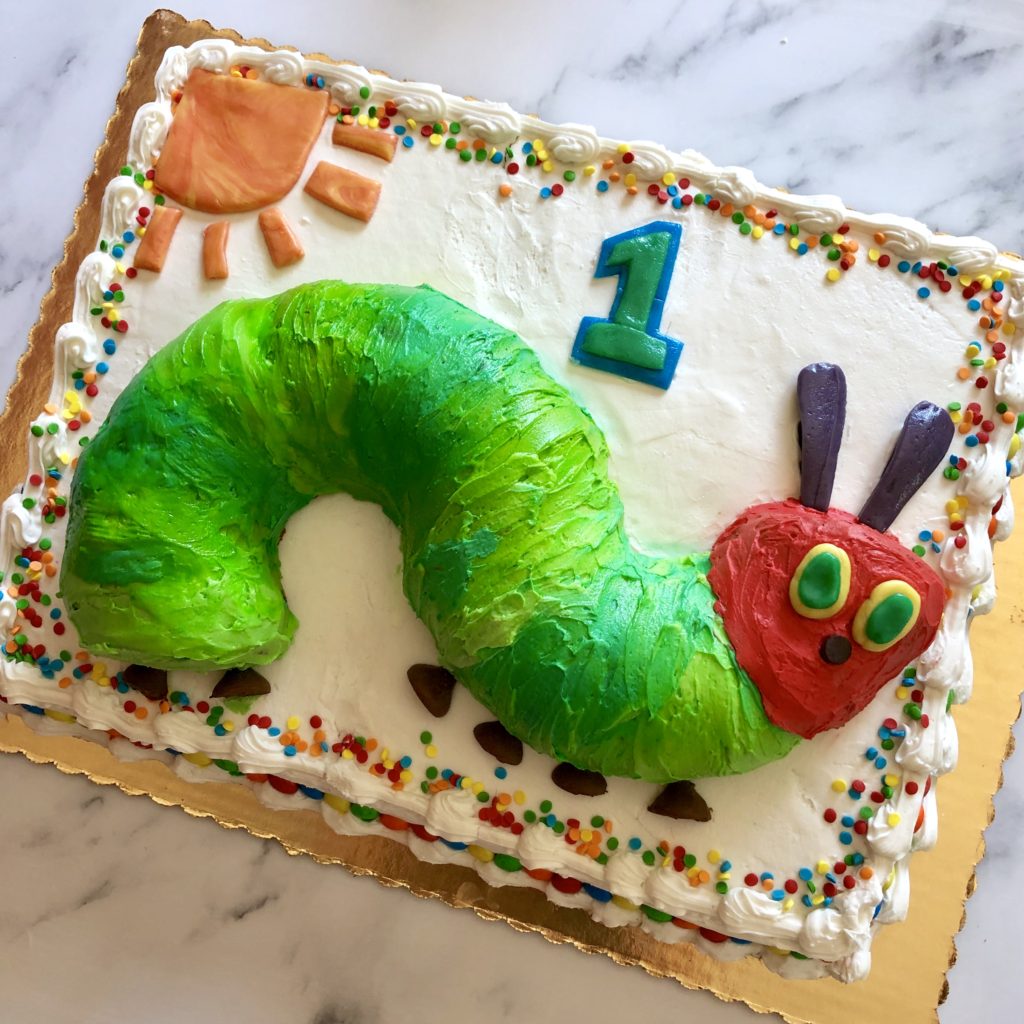
You know by now I’m all about shortcuts to achieve more professional results on a time crunch. Starting with a bakery-made cake base and decorating it myself is the easiest way to achieve a custom decorated look on a shoestring budget, and it’s a huge timesaver to boot, especially if smooth frosting isn’t your strong point.
I love how this cake turned out and the guests raved about the two-layer combination of fluffy vanilla cake and denser, moister pound cake. The guest of honor’s first taste of cake was a success too. 😉 Happy birthday, cutie! I’m honored to get to make your very first cake.
Do you do big 1st birthday parties for your kids? What themes have you done? Tell me in the comments below and tag me on social media with #NeverDoneWithFun if you give this Very Hungry Caterpillar confection a try!
Follow along on Instagram, Facebook, and Pinterest for more ideas and inspiration for cultivating creativity amid the chaos of #momlife.