 As a mom of two boys, a fairy garden is the closest thing I’m going to get to a real dollhouse. But more than fulfilling my dollhouse fantasies, growing a fairy garden with my boys is a project that gets us outside together all summer long.
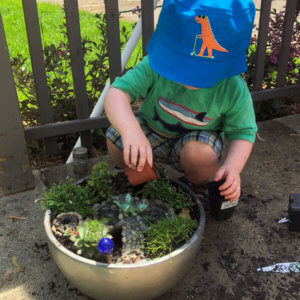
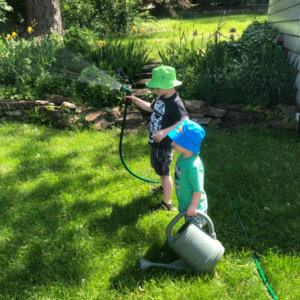
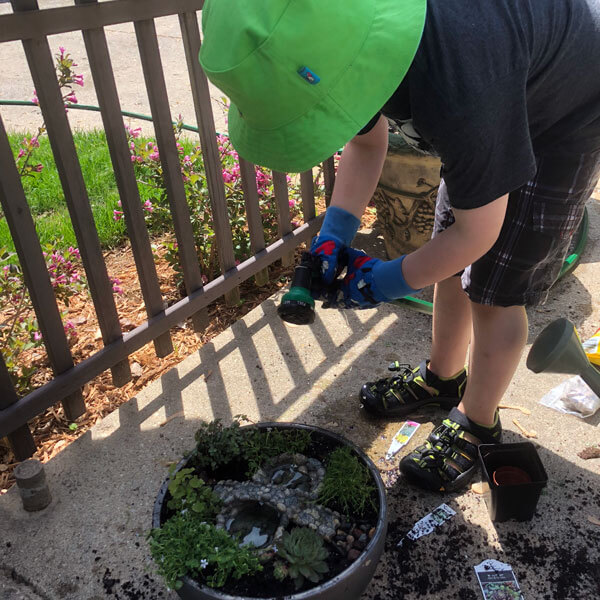
They love to get their hands muddy when we plant it; then they get to play with the miniature accessories like they’re toys (despite my pleas to leave it E-X-A-C-T-L-Y as I have it arranged – #OCDmomproblems); and most every night, we go outside after dinner to water it or drown it depending on your perspective. (See note about this at the bottom.)
 As Easton gets older, my mama heart is proud when he reminds me we need to water “his” garden. Watching him take ownership of a little bowl of plants foreshadows his future responsible self and nurtures his budding green thumb.
So put your kids in their old clothes and find some gardening tools. Even a sand shovel will do. But before you get started, you have some tough choices to make: Overall “theme” … container … plants … miniatures. You can involve your kids in the process if you want, but I won’t judge you if you want to make all the decisions without their input. After all, if you’re like me, this might be your only chance at a dollhouse.
This post contains affiliate links. As an Amazon Associate, I earn from qualifying purchases. Read my full disclosure policy for all the boring details.
How to Build a Magical Container Fairy Garden
Choosing a Container | Choosing Plants | Choosing Accessories | Finishing Touches | Putting It All Together
Supplies:
- Container of your choice
- Potting soil
- 4-5 small plants (depending on container size)
- Rock gravel, sand, or glass stones
- Accessories – the best part!
We opted for something simple, shallow and wide to accommodate the most accessories in one container. We also chose plastic to keep costs down and minimize potential damage done by, ahem, little hands. But I love the look of the cast concrete bowls too.
Great options:
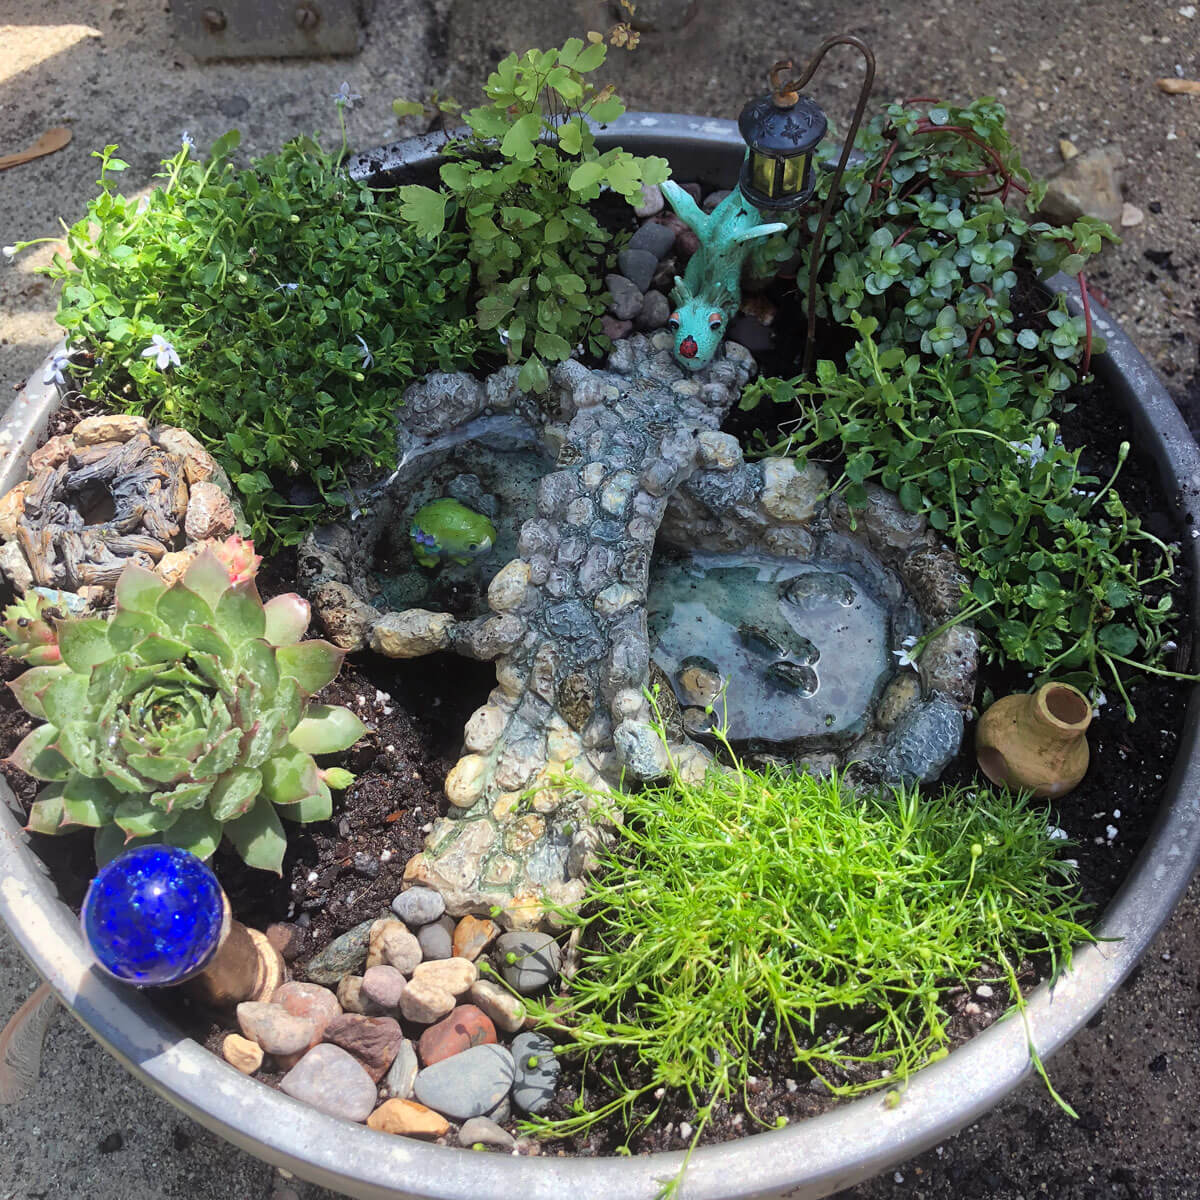
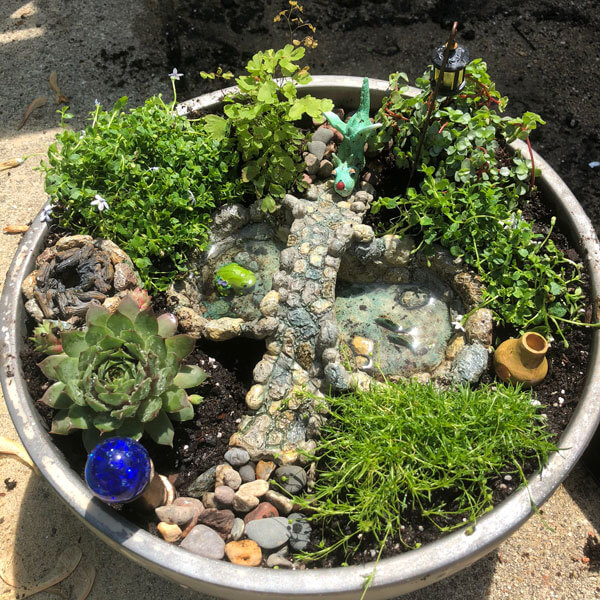
 Our fairy garden resides on our patio, where it gets full sun all afternoon, so we need hardy plants that can take the heat (literally and figuratively). This year, we chose:
- Blue Star Creeper – this one, with its tiny blue flowers, is my favorite and it spreads fast. I have great luck keeping it alive, which definitely says something.
- Irish moss
- Red-stem Pilea
- ‘Ruby Heart’ Hens & Chicks succulent, chosen by Easton
- Sellaginella Gold Moss
 Each year, our collection of accessories grows, but the container size stays the same. I hope to expand the container fairy garden into a whole fairy garden bed someday, but for now, I’m sticking with what is manageable and easy to water.
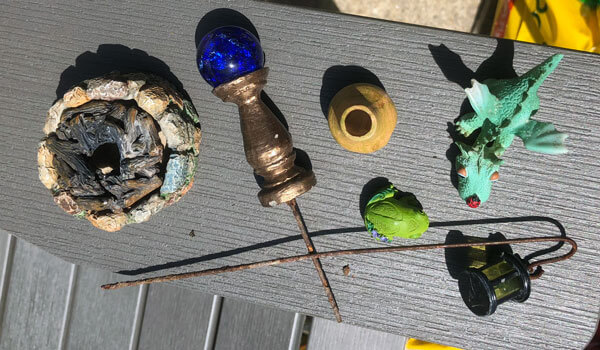
Some of my favorite accessories:
Browse my friend Kim’s Etsy shop, The Little Hedgerow, for a beautifully curated collection of whimsical accessories. In addition to all the usual pieces, she has a tiny handmade sign for every occasion, and each one is more adorable than the next.
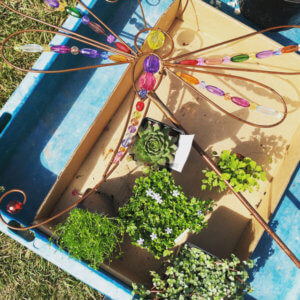
Let your kids collect items to integrate as well – pretty rocks, interesting branches or pieces of bark, acorns. The possibilities are endless and don’t have to be expensive.
Rock gravel can be used to create paths. For a small garden like ours, this should be more than enough:
I also love the magical look of tumbled gemstones. There are a million options on Amazon, but this one is iridescent and perfect for water:
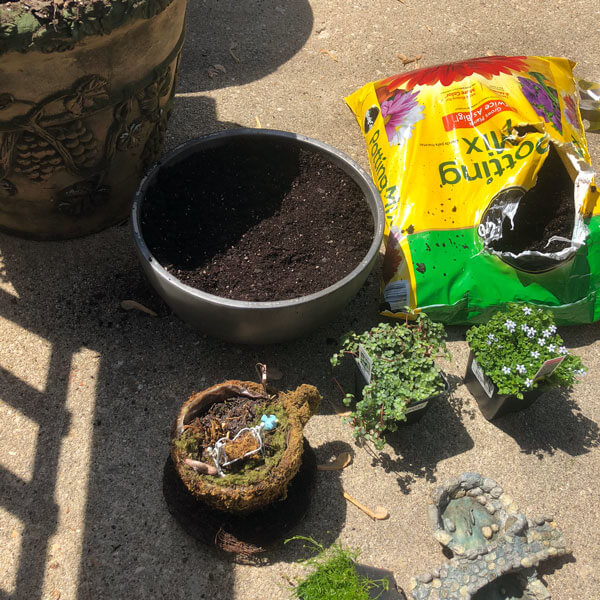
- For best drainage, put a light layer of river rocks at the bottom of your container before adding potting soil.
- Fill container with potting soil.
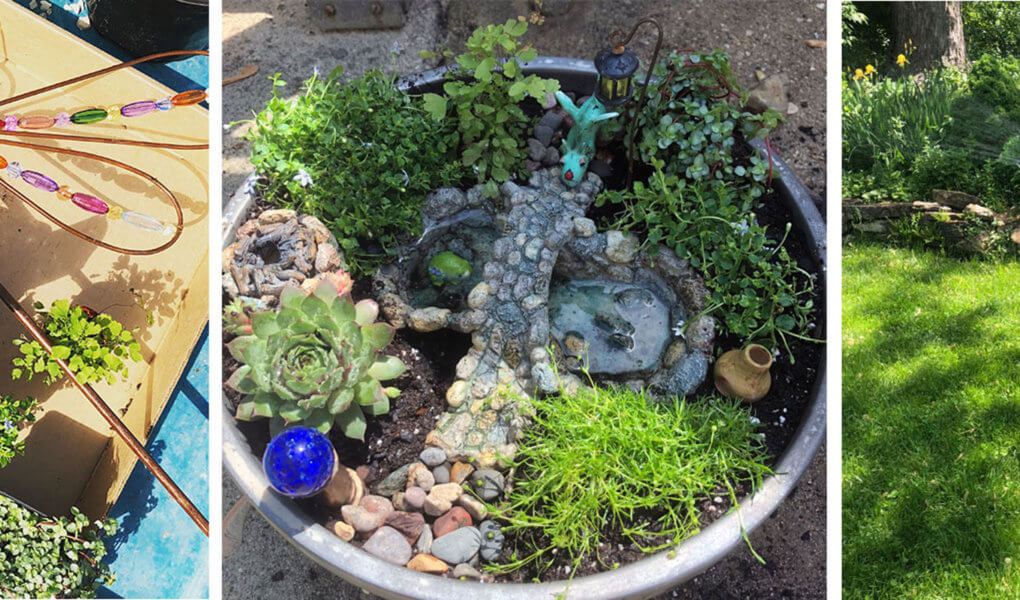
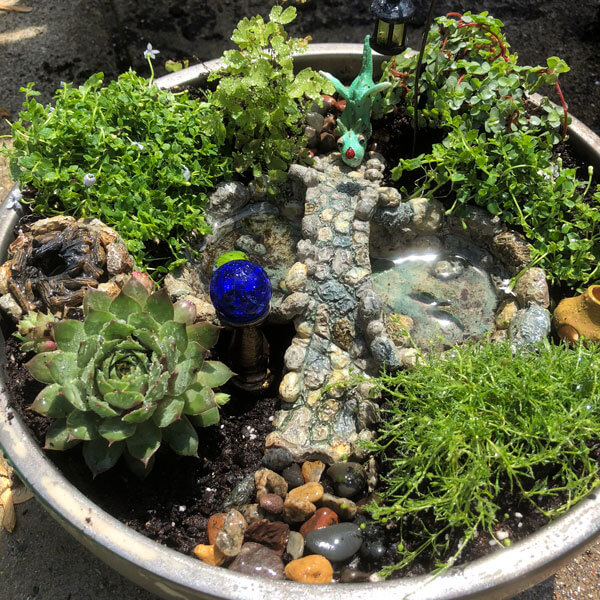
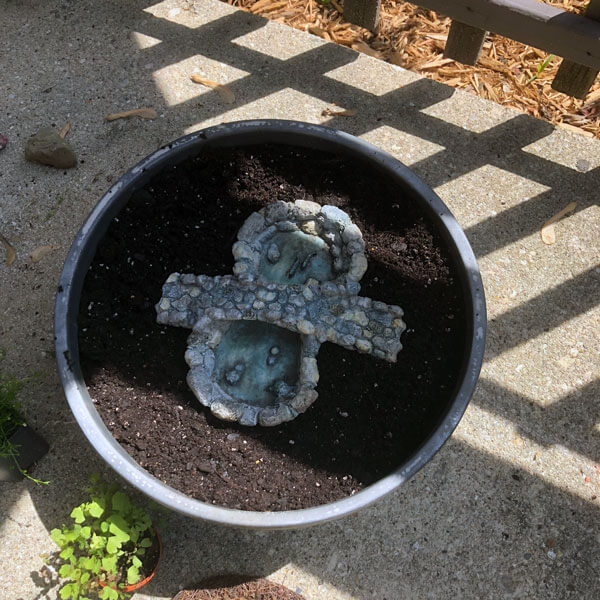
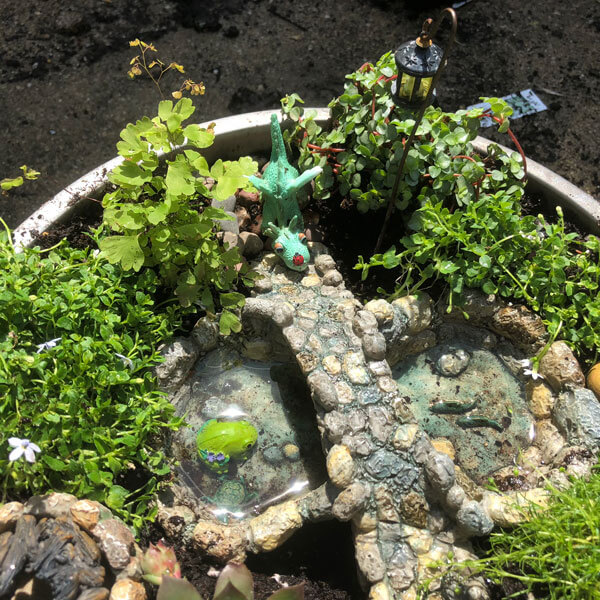
- Add plants. If you have an anchoring accessory like my pond, you may want to place this first and then add your plants around it. Leave ample space around each plant to allow it to grow and spread. I promise it will take off before you know it!
- Place other accessories.
- Add in rock gravel or stones to accent.
- Water and find a spot to let it start to grow!
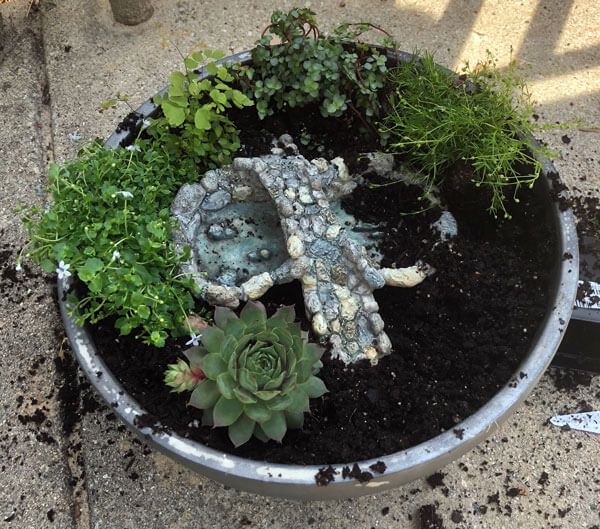
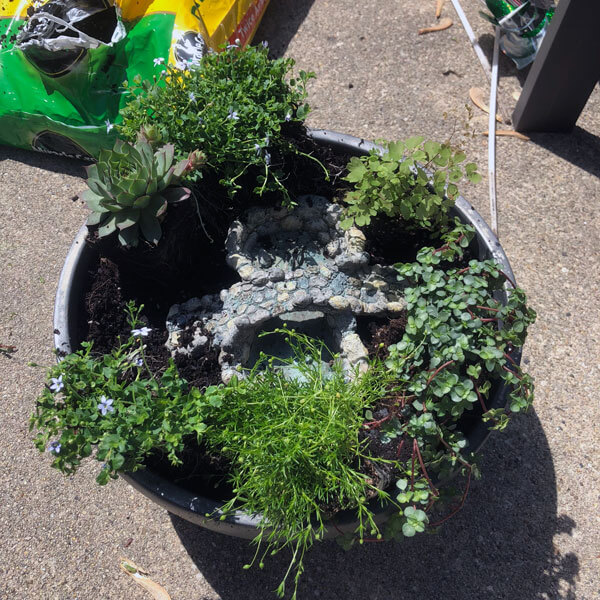
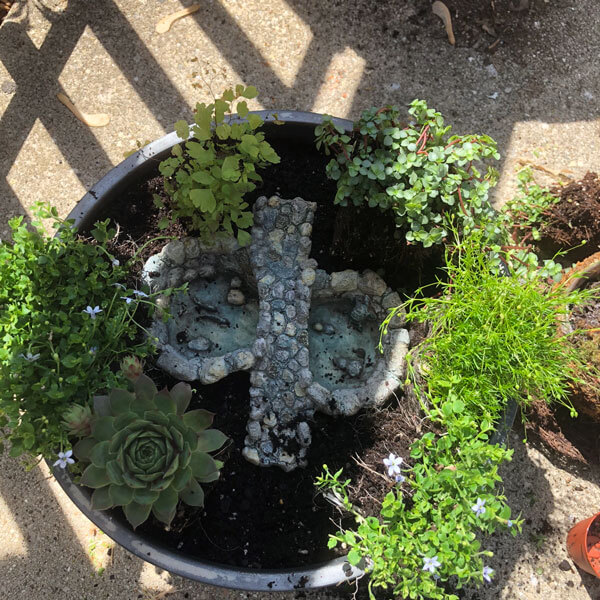
Click to enlarge each gallery image:
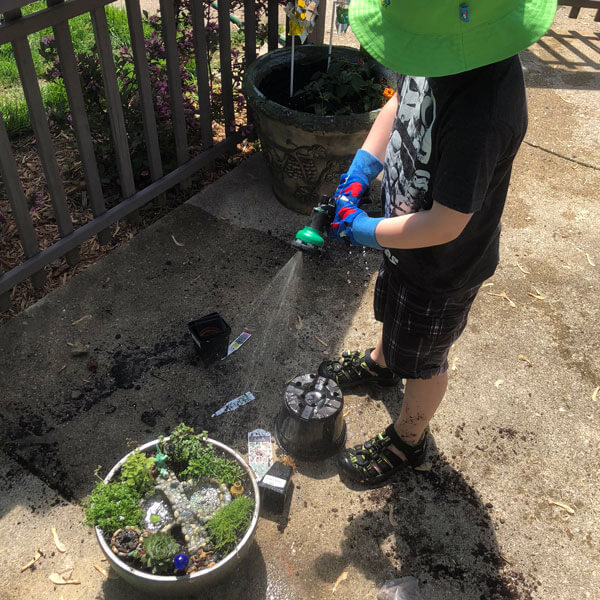
A word of advice: You’ll want to give it a good soaking when you first plant, but depending on the plants you choose, be wary of over-watering. If your kids are like mine and love helping to water, you might want to give them a small-ish watering can versus the hose. Easton got to our fairy garden bowl last year with the hose and it looked like a tsunami had swept through the tranquil woodland.
The boys and I love watching the garden grow and flourish over the course of the summer, and the opportunity for rearranging the accessories, at least in E’s mind, is endless.
Show me how your gardens turn out with #NeverDoneWithFun. I hope your fairy garden sparks as much magic for your family as it does for mine!