 We woke up a few Saturdays ago to a cool, dreary, drizzly day. There’s nothing worse than a rainy day at the end of summer. By 9 AM, the boys were at each other’s throats, already sick of cartoons and LEGOs. It was going to be one of those days where all the coffee in the world couldn’t save me.
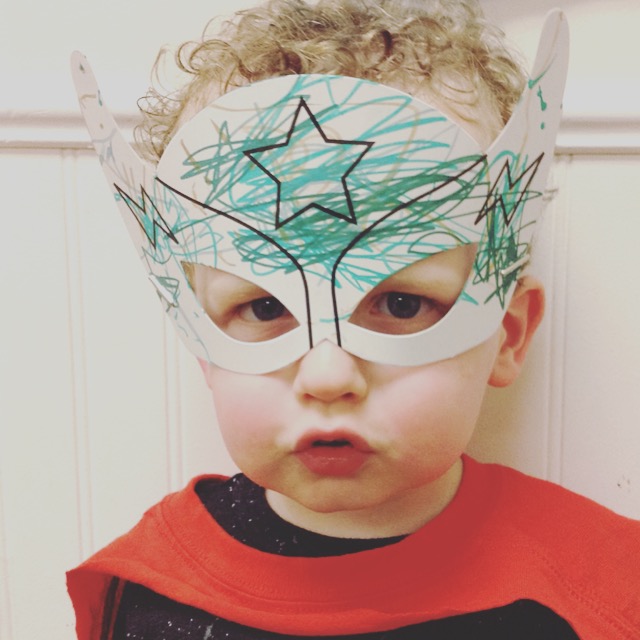
Luckily, I had a backup plan: Earlier in the month, the boys had Superhero Day at their daycare. We had been instructed to bring an old t-shirt in the Toddler Room. The creativity of his teachers never fails to amaze me. Sawyer was proudly wearing a red superhero cape when I picked him up that day.
So, while I can’t take credit for this ingenious idea, I can show you step-by-step how to make your own superhero cape from any old t-shirt. There’s no sewing and no gluing required — just some good scissor skills. You can have the whole family outfitted with capes in under 20 minutes if you have enough extra t-shirts.
This post contains affiliate links. As an Amazon Associate, I earn from qualifying purchases. Read my full disclosure policy for all the boring details.
For a superhero birthday party, this is an easy party favor to send home. Just buy solid-colored t-shirts at a discount store. If you’re feeling brave, you can even let the kids decorate their capes themselves with fabric paint or fabric markers. (Note: Capes will need to dry if opting to decorate them with fabric paint and will not be able to be worm immediately.)
Grab your scissors and pull those freebie t-shirts out of the giveaway pile. The future of Gotham City and Metropolis just may depend on it.
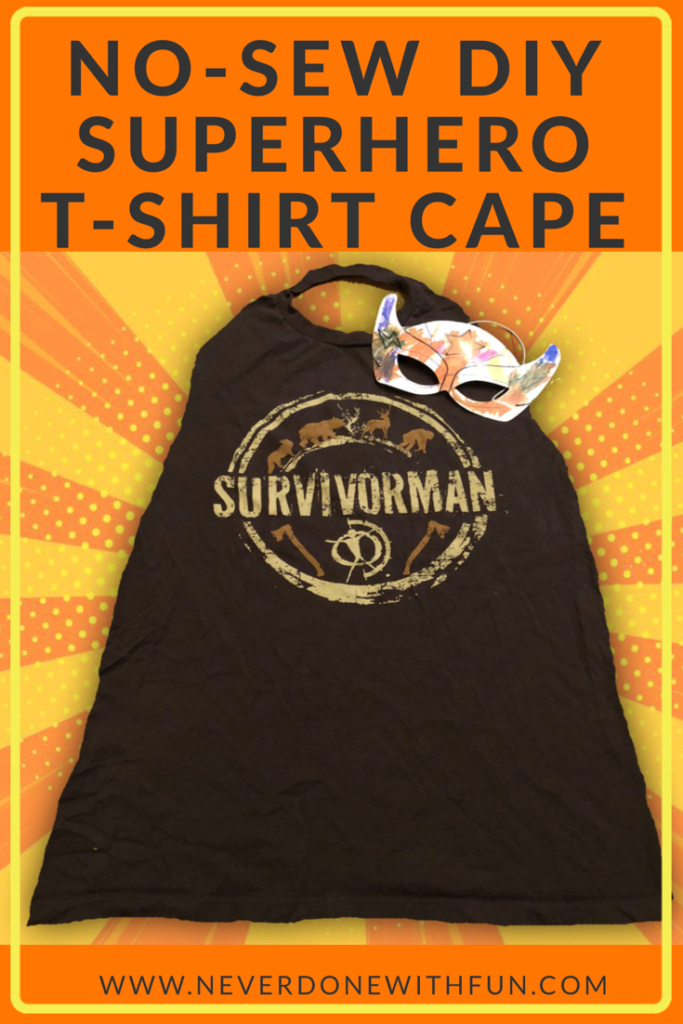
DIY Superhero T-Shirt Cape
1. Select an old t-shirt to cut up. You can use an adult t-shirt for a cape that will trail on the ground, or a child-size t-shirt for younger children. Just make sure to size up 2-3 sizes from your child’s current shirt size to ensure the cape is long enough.
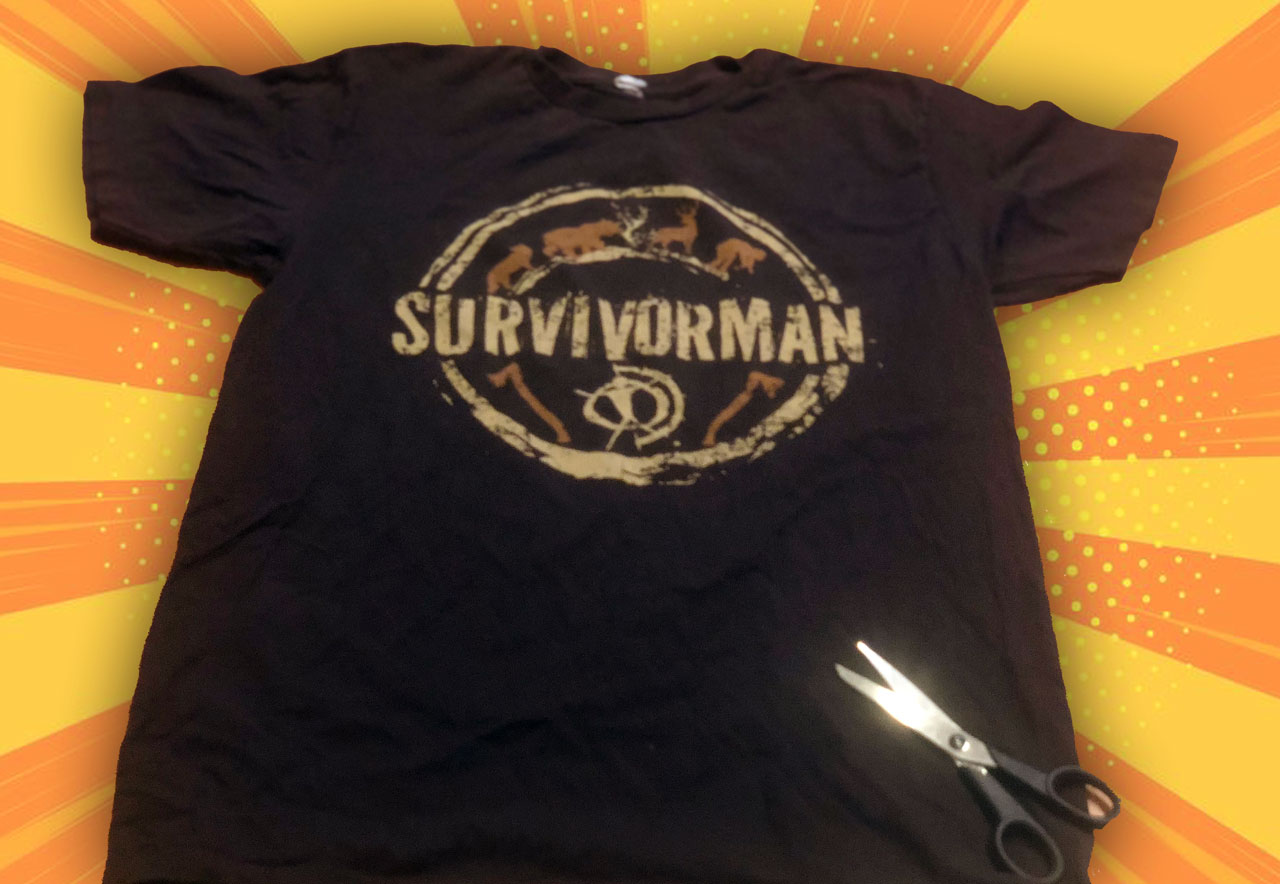
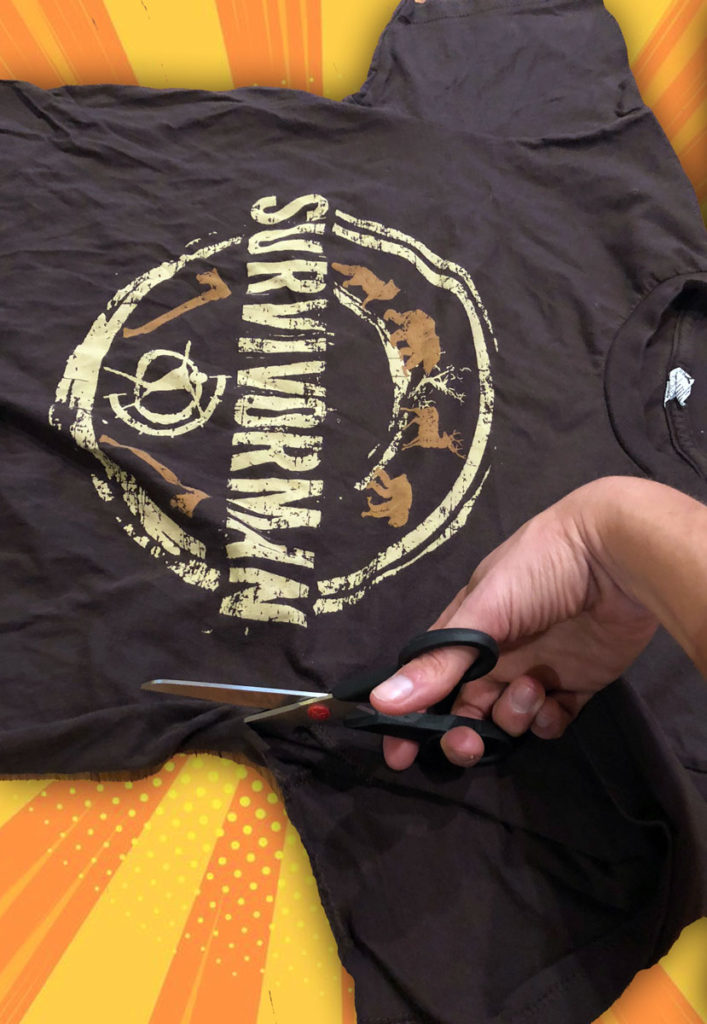
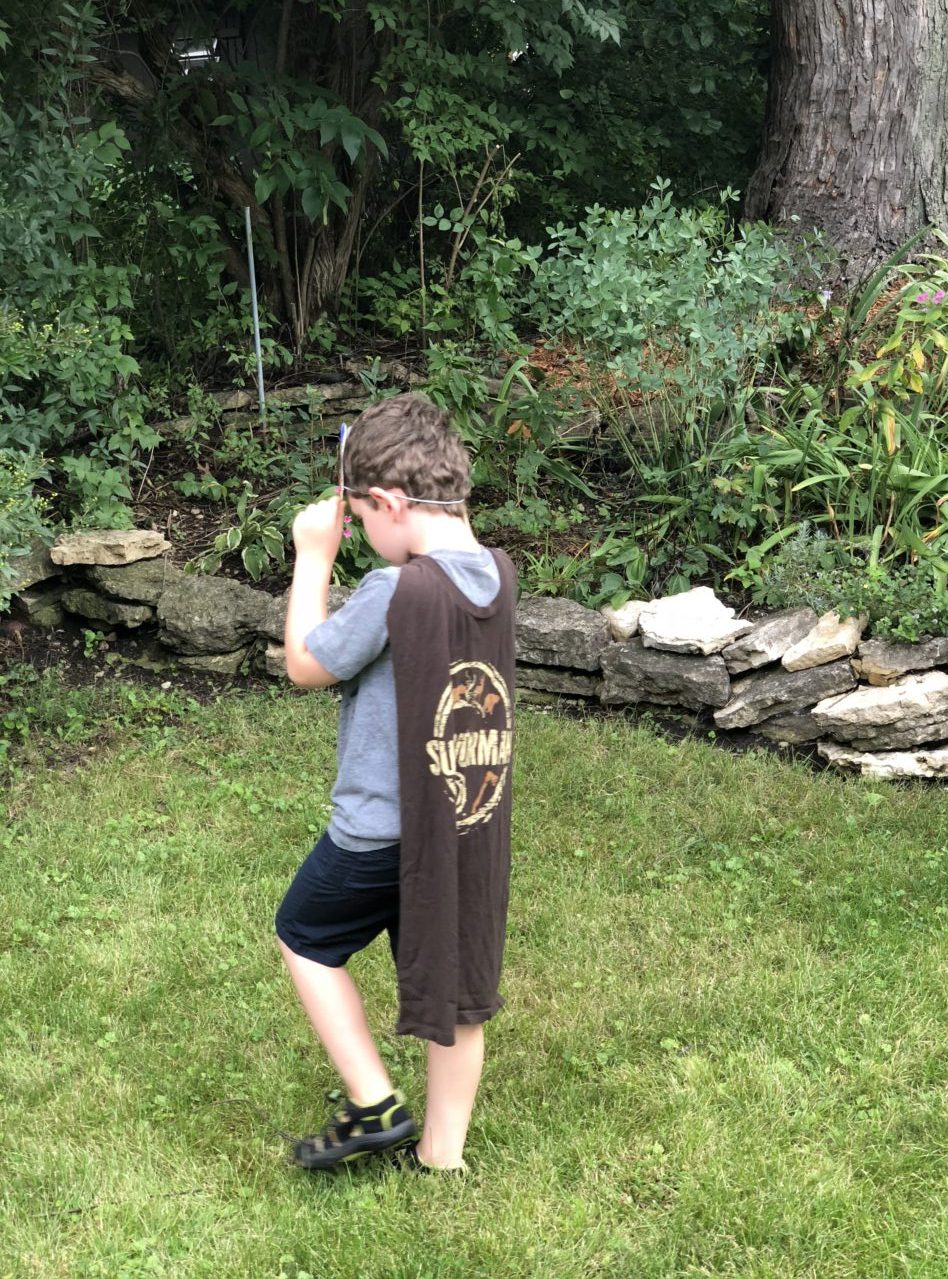
You can pick a shirt with a design that can go on the cape, as we did with #DoneWithFun Daddy’s too-small “Survivorman” shirt, or you can opt to the turn the t-shirt inside out before starting so the cape is solid colored.
2. Cut apart the t-shirt at both side seams using fabric scissors. Don’t worry about the straightness of your cuts too much here; most will be cut away when you shape your cape.
3. Lay the shirt out in one long piece as shown. Can you start to see the cape shape emerging?
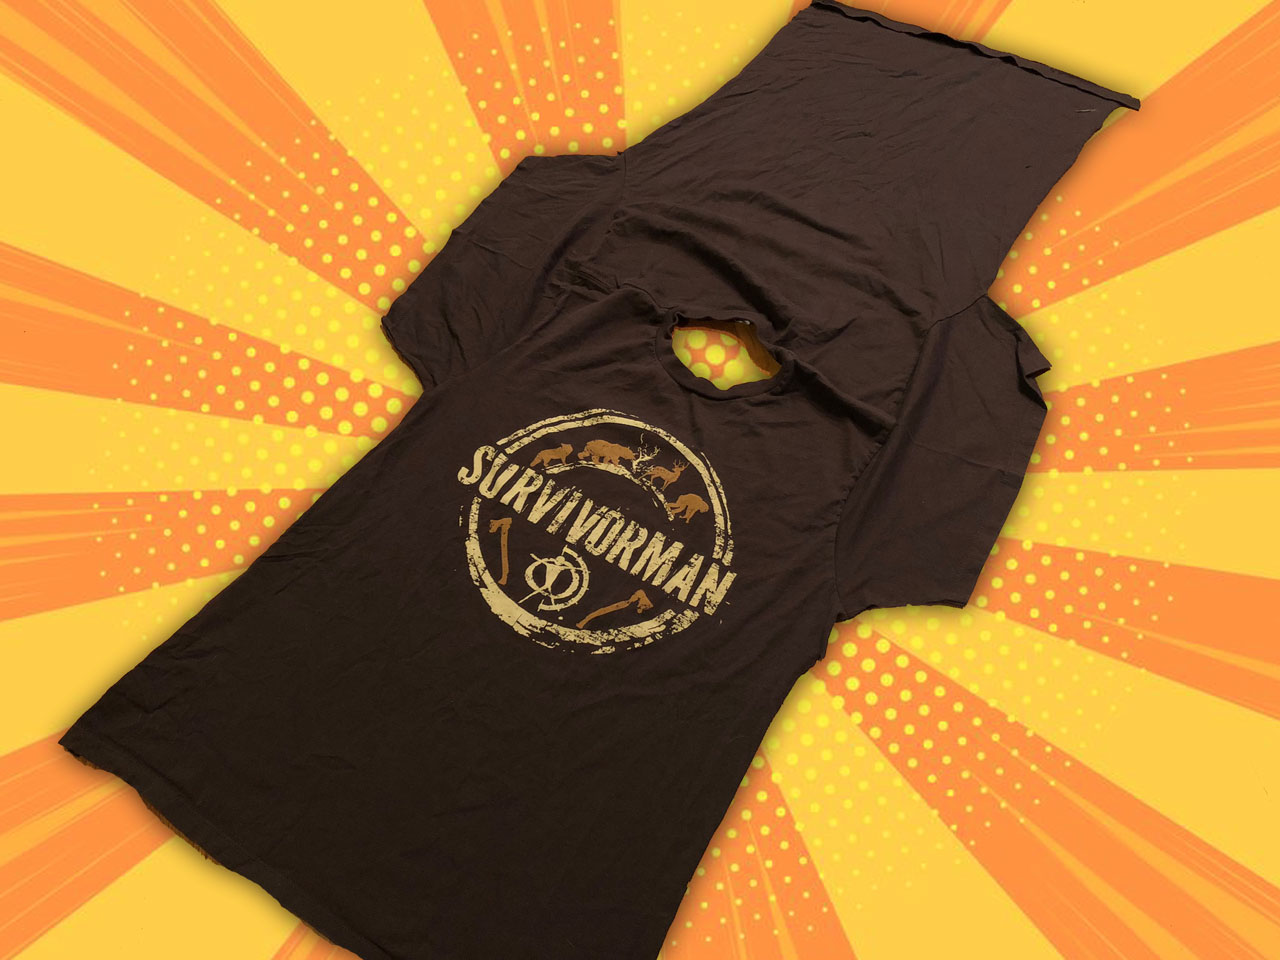
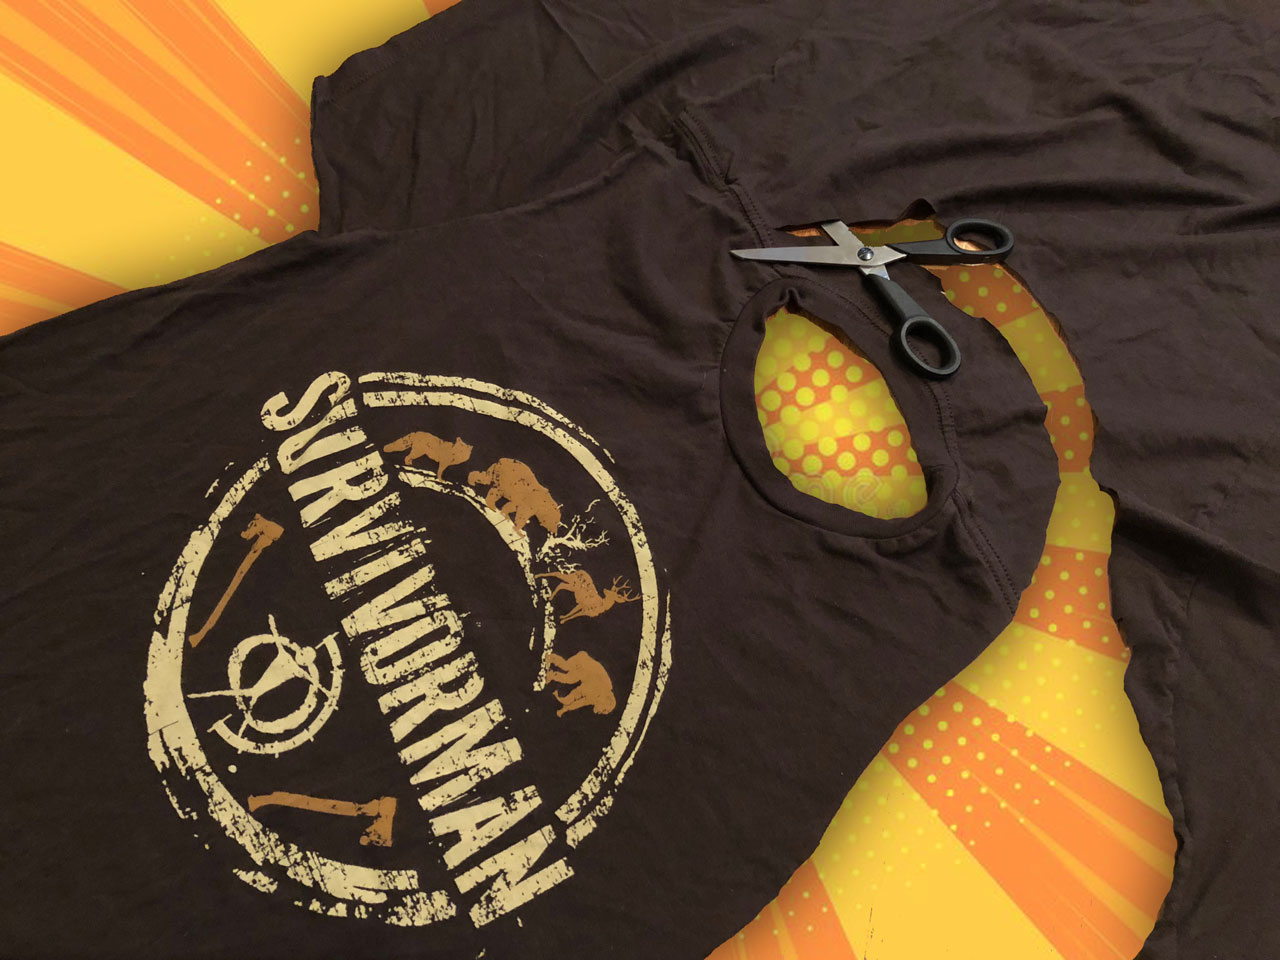
4. Cut the cape shape by cutting off the right sleeve, then around the collar of the backside of the shirt (leaving about 1-2 inches of t-shirt fabric in addition to the collar), then cutting off the left sleeve. Refine the shape and your cut lines as needed to get the slight flared angle of the cape.
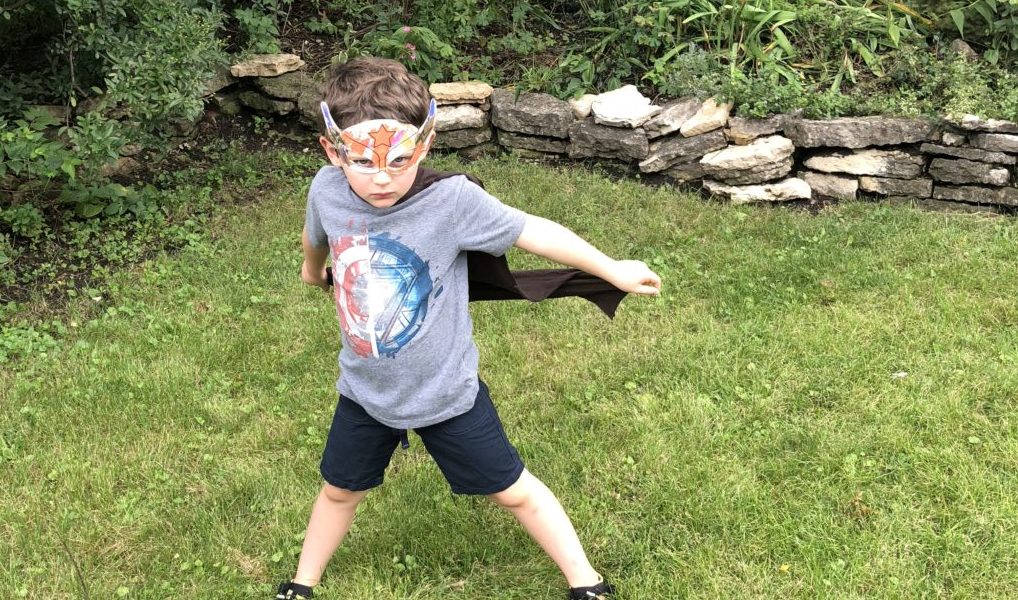
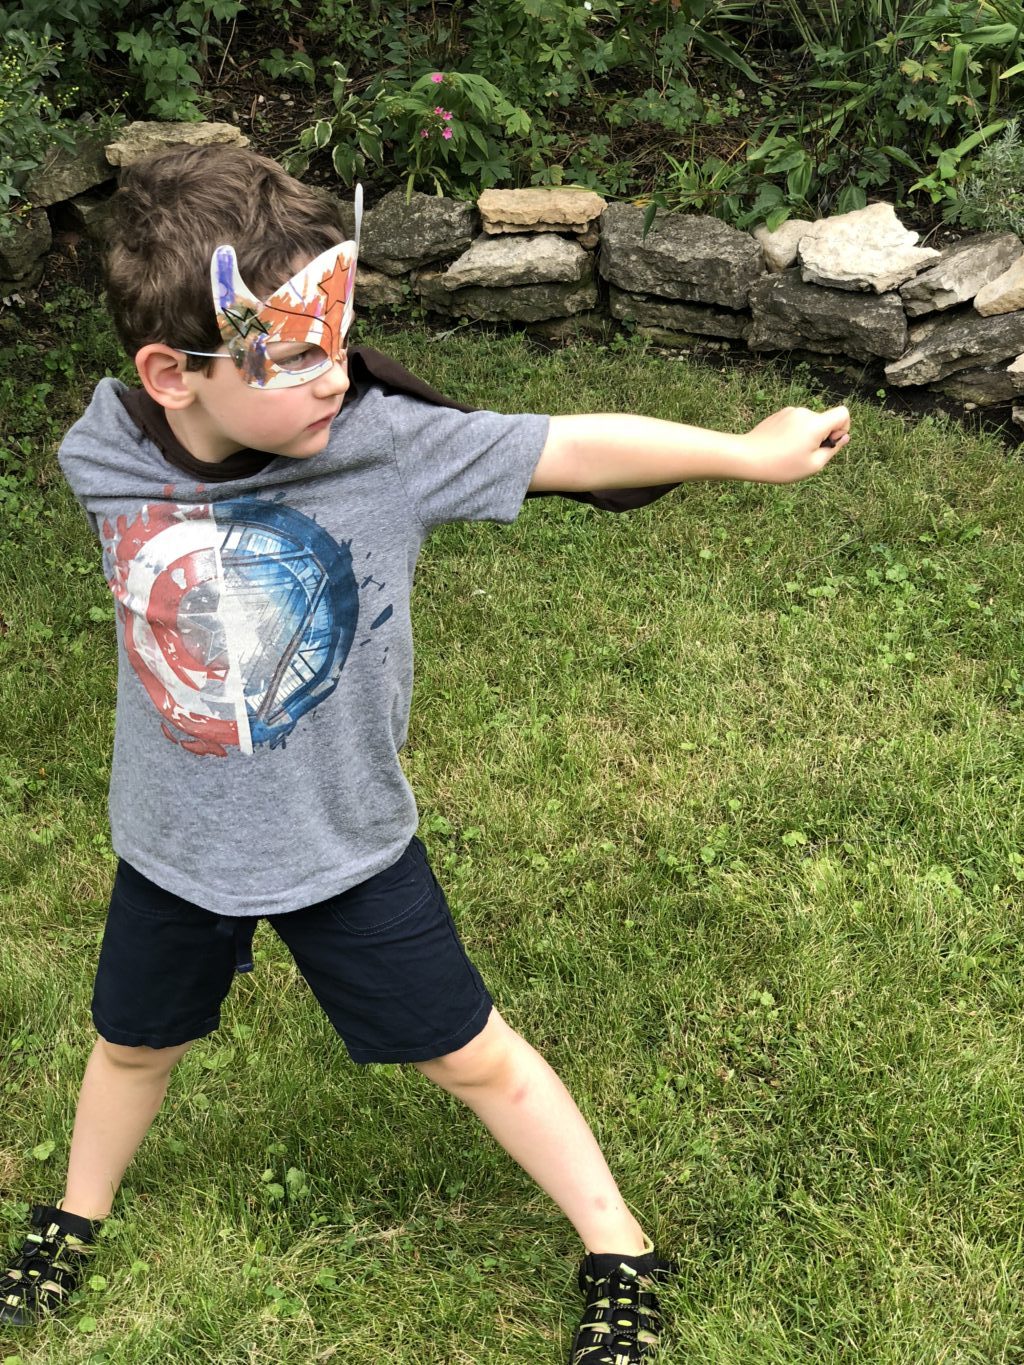
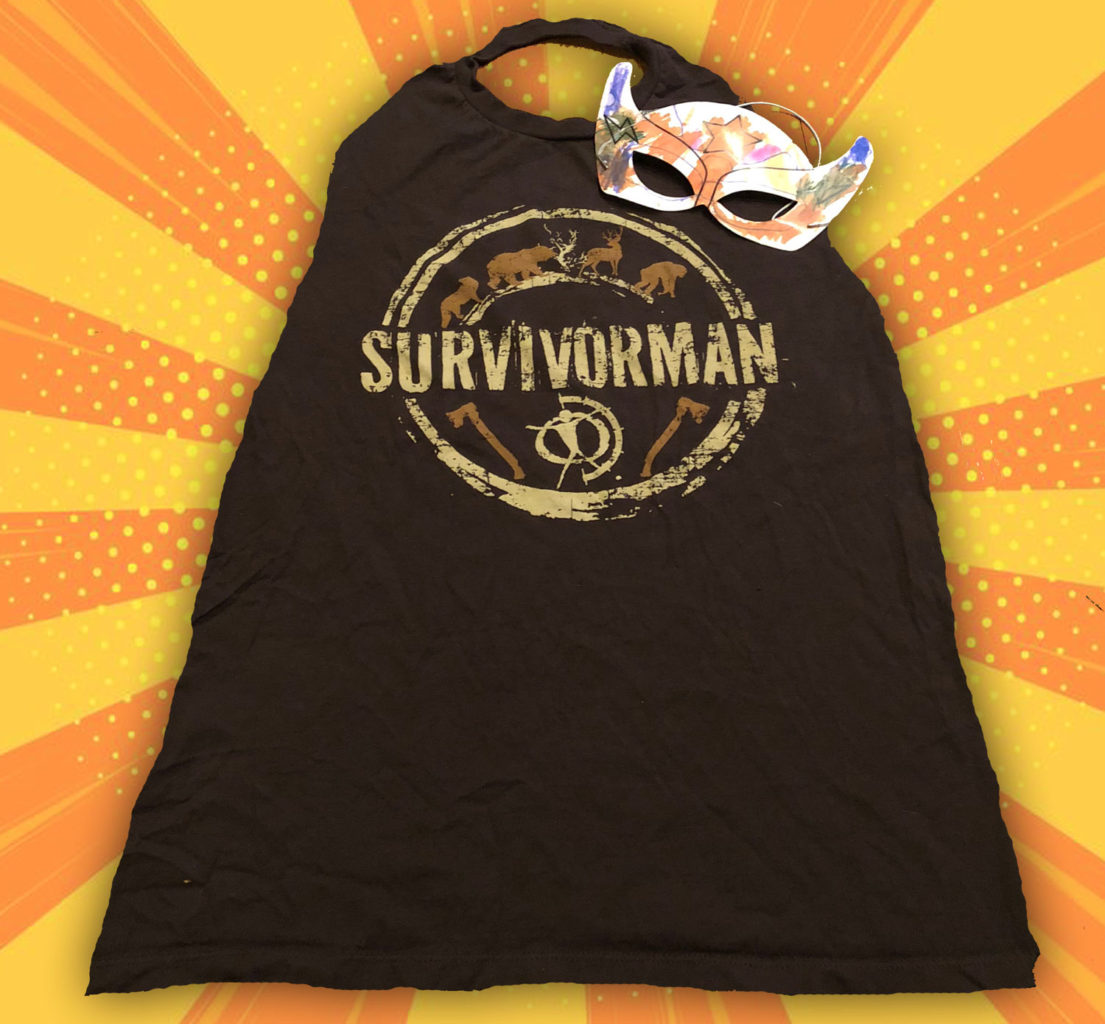
5. Ta-da! You’ve got a superhero cape in under 10 minutes, no sewing or gluing required. Let your kids color their own superhero masks with this super-easy kit and you’re ready for action!
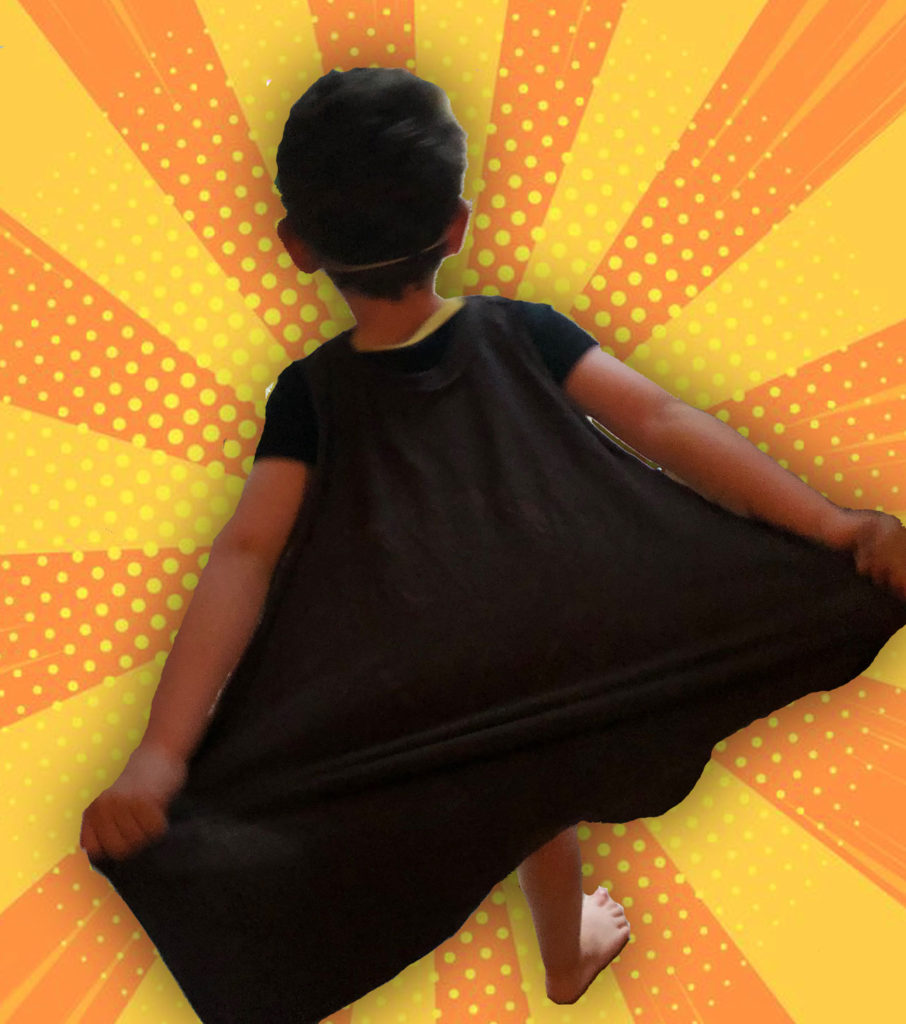
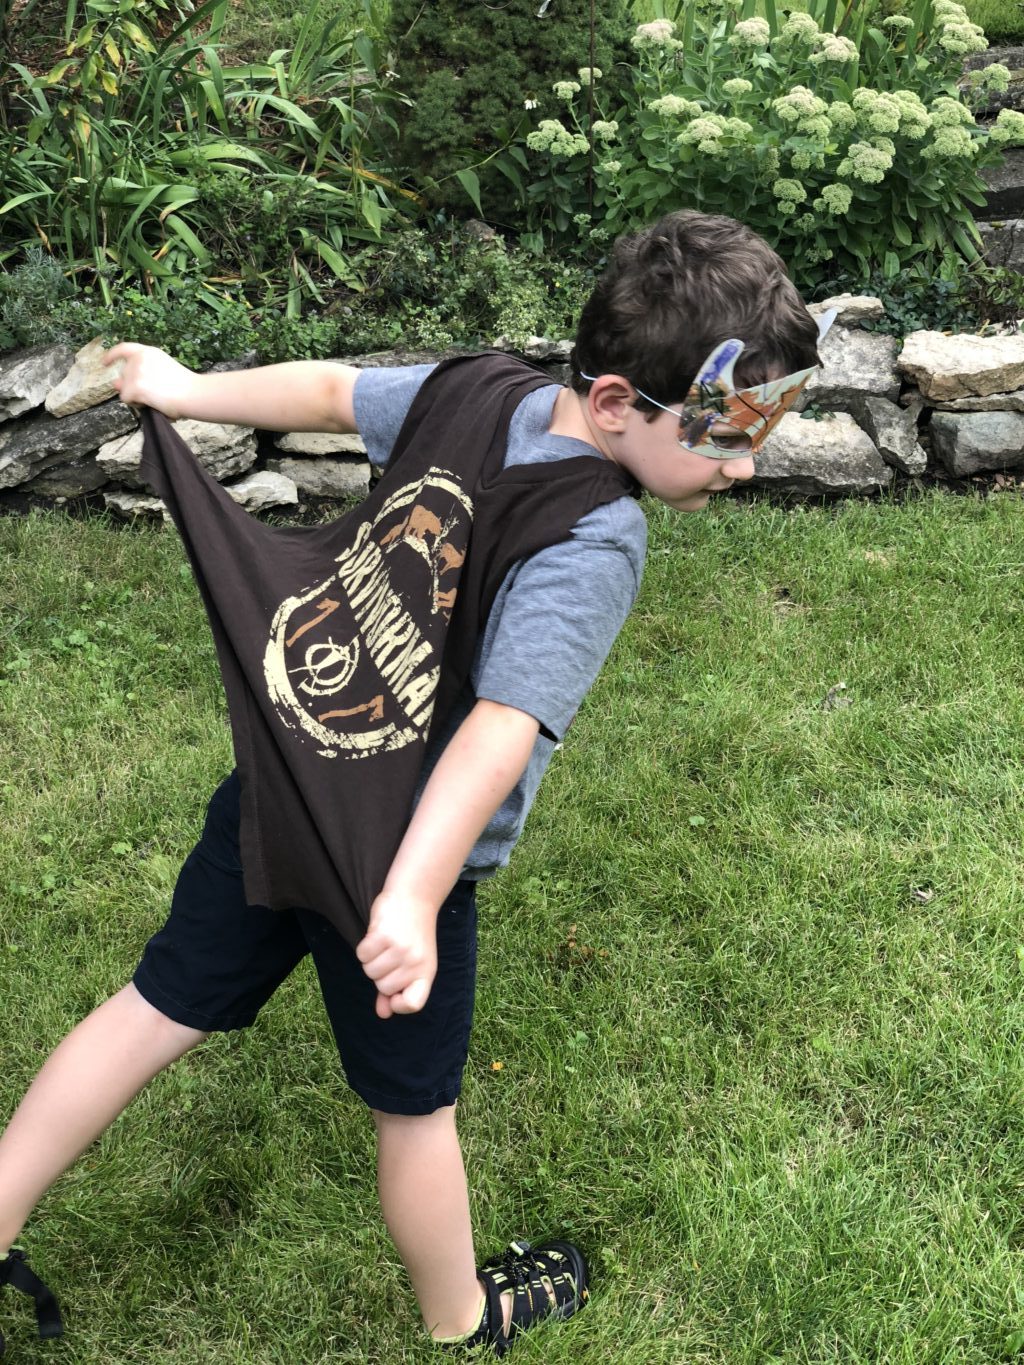
Hopefully, by now, the rain at your house has stopped like it did at mine, and you too will be able to put on your capes and fly around the backyard.
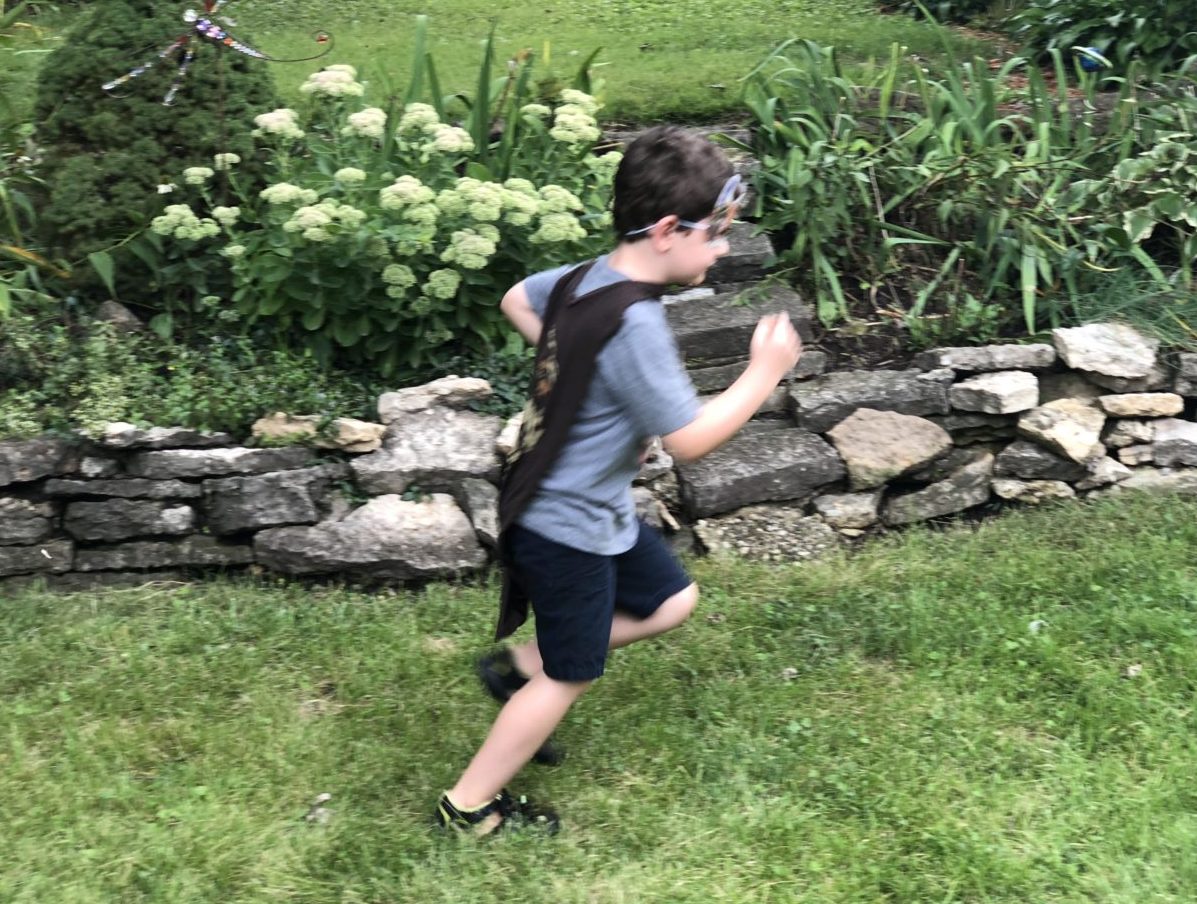
Wet shoes? Muddy clothes? Doesn’t matter. I’m in favor of whatever lets them get their energy out on a Saturday morning. T-shirt capes for the win!
Share pictures of your little superheroes with #NeverDoneWithFun!